Standard squeegees for Screen Printing are straight-edged and work well for cylindrical items like bottles, tubes, cosmetic containers, or water cups, and conical shapes like takeaway coffee cups or bubble tea containers. However, when screen printing on uniquely shaped curved surfaces—such as oval bottles, items with raised midsections, or recessed contours—a straight squeegee often struggles. For these irregular surfaces, modifying the squeegee into a custom curved shape that matches the product’s profile is essential. This guide details the professional method for creating curved squeegees, a valuable skill whether you’re using a manual setup or a specialized screen printing machine.
Why Curved Squeegees Matter for Specialized Printing
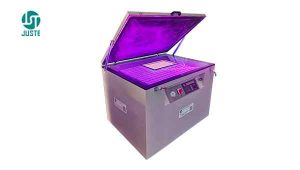
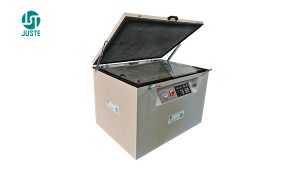
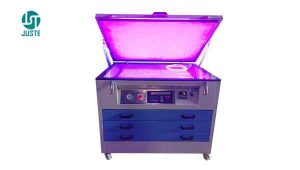
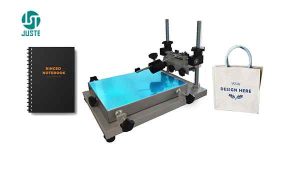
Achieving consistent ink deposition on complex curves requires perfect squeegee-to-surface contact. A curved squeegee ensures even pressure across the entire printing area, preventing ink skips, smudges, or uneven coverage. This technique significantly expands the capabilities of your screen printer, allowing you to handle challenging jobs efficiently. For consistent results on high-volume curved items, consider pairing your custom squeegee with a dedicated screen printing machine designed for curved objects, like this multicolor semi-automatic curved surface Screen Printer which offers precise control and micro-registration.
Steps to Make a Curved Squeegee
Step 1: Squeegee Selection (Critical Foundation)
Choosing the right base squeegee is paramount for successful modification and printing performance.
1.1 Material Choice:
Polyurethane (PU) Squeegee:
Characteristics: Excellent abrasion resistance, good solvent resistance, superior resilience.
Best For: The vast majority of screen printing applications, especially UV-curable and solvent-based inks.
Hardness Range: Typically 60-90 Shore A.
Silicone Squeegee:
Characteristics: High heat resistance, excellent chemical stability.
Best For: Food packaging, medical devices, and other hygiene-critical areas.
Limitation: Not suitable for solvent-based inks.
Rubber Squeegee (Natural Rubber):
Characteristics: Good elasticity, lower cost.
Best For: Water-based inks and some plastisols.
Drawbacks: Poor solvent resistance, wears out faster.
1.2 Hardness Selection Guide:
Squeegee hardness directly impacts ink transfer volume and print definition:
55-65 Shore A (Soft):
Best For: Irregular surfaces, curved printing.
Characteristics: High flexibility, conforms well to uneven substrates.
65-75 Shore A (Medium):
Best For: Most general flat printing applications.
Characteristics: Balances conformity and durability.
75-85 Shore A (Hard):
Best For: High-precision flat printing.
Characteristics: Provides sharp print edges, ideal for fine details/halftones.
85-95 Shore A (Extra Hard):
Best For: High-tension screens, precision electronics printing.
Characteristics: Minimal deflection, for extreme precision.
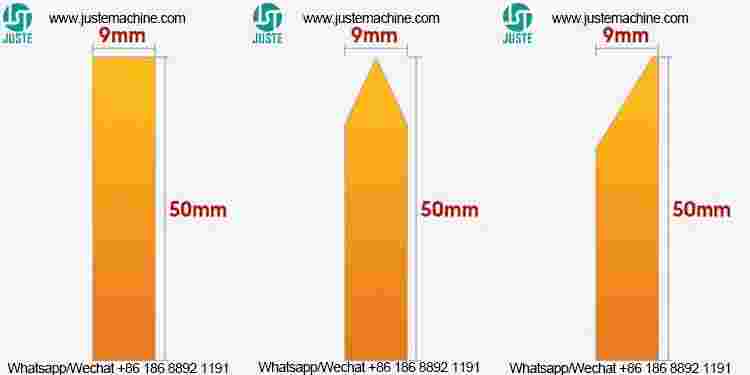
1.3 Shape Choice (Pre-Modification):
Square Edge (90°):
Characteristics: Sharpest printing edge.
Best For: High-definition printing, fine lines, dots.
Beveled Edge (Single or Double Bevel):
Characteristics: Balances ink flow and edge sharpness.
Best For: General purpose, versatile for many ink types.
Special Shapes:
Bowed: Pre-curved for specific cylinders (starting point for complex curves).
Custom: Made for unique applications.
1.4 Size Considerations:
Length: Should exceed the image width by 2-4 cm (approx. 1-1.5 inches).
Height: Commonly 20-30 mm (approx. 0.8-1.2 inches) – provides stability for modification.
Edge Angle: Typically 45° or 60°; affects ink release characteristics.
1.5 Matching Ink Type:
Water-Based Inks: Medium-hardness PU squeegees.
Solvent-Based Inks: Solvent-resistant PU squeegees (higher hardness often better).
UV Inks: Harder PU squeegees (75+ Shore A).
Plastisol Inks: Natural rubber or softer PU squeegees.
Inspect the blade edge regularly for wear/damage.
Cleaning: Clean immediately after use; avoid prolonged solvent soaking.
Storage: Hang vertically or lay flat; protect the edge from pressure/deformation.
Replace When: Edge shows significant wear, nicks, chips, or permanent deformation.
1.8 Selection Tips:
Test squeegees on scrap material first.
Discuss specific application needs with your supplier.
Consider total cost (longevity, print quality) over just purchase price.
Keep records of squeegee performance for future optimization.
1.9 Troubleshooting Common Issues:
Blurry Print: Squeegee too hard or incorrect edge angle.
Excess Ink: Squeegee too soft or unsuitable shape.
Premature Wear: Incorrect hardness or material for ink/substrate.
Step 2: Preparation
Select Base Squeegee: Choose a PU squeegee. A medium hardness (65-75 Shore A) offers a good balance of flexibility and stability for modification.
Gather Tools: Sharp scissors or utility knife, squeegee holder/clamp, measuring tape or calipers, heat gun (optional but helpful).
Step 3: Measurement & Marking
Precisely measure the curvature of the product surface you need to print on.
Carefully mark the key bend points and areas where the curve changes on the squeegee blade.
Step 4: Cutting Kerfs (The Modification)
Using scissors or a utility knife, make evenly spaced cuts along the length of the squeegee blade, on the side opposite the printing edge.
Crucial: Cut depth should be 1/2 to 2/3 of the squeegee’s height. Never cut all the way through!
Spacing: The distance between cuts determines the tightness of the curve. Tighter curves require closer spacing (typically 5-15mm / approx. 0.2-0.6 inches). Wider curves need less frequent cuts.
Step 5: Shaping & Setting the Curve
Place the kerfed squeegee into your holder or clamp.
Gently bend the squeegee to match the exact contour of your product. Ensure full contact along the desired curve.
Optional Heat Setting (Recommended for Durability): Use a heat gun on a low setting (60-70°C / 140-160°F) to gently warm the bent PU. This helps the material “relax” into the new curved shape for better long-term stability. Avoid overheating!
Tighten the clamp screws securely to hold the squeegee in its curved form while it cools (if heated) or for immediate use.
Step 6: Testing & Fine-Tuning
Install the modified curved squeegee onto your screen printer.
Conduct test prints on the actual curved product or a precise mold.
Carefully check the ink deposit and contact across the entire surface.
Make minor adjustments to the bend if needed. You may need to add more kerfs or slightly deepen existing ones (carefully!).
Important Considerations & Safety
Safety First: Use extreme caution with knives and heat guns. Wear cut-resistant gloves during cutting.
Kerf Cutting: Make gradual cuts. It’s easier to cut deeper later than to fix an over-cut.
Material Matters: Different materials (especially non-PU) react differently. Test kerf spacing/depth on scrap first.
Have Backups: Make several kerfed squeegees simultaneously. Modifications can be tricky; spares prevent production delays.
Practice: Perfect your kerfing technique on scrap material or old squeegees before modifying production tools.
Conclusion
By following this kerf-cutting method, you can effectively transform a standard straight squeegee into a specialized tool for printing on complex curved surfaces. This significantly broadens the application scope of your screen printing setup, whether you’re using a manual jig or an automated screen printing machine. Patience and careful adjustment during the modification process are key to achieving a perfect contour match between the squeegee and the product surface, which is essential for optimal print quality.
Remember to practice on waste material first to master the kerfing technique before modifying squeegees intended for actual production runs. This skill empowers you to tackle challenging curved printing jobs effectively and cost-efficiently.