Contents
- 1 Semi Automatic Barrel Screen Printing Machine: How to Print on Industrial barrel
- 2 Pre-Press Preparation: What You Need Before Printing
- 3 The Printing Workflow: Step-by-Step Setup
- 4 Why Choose the JST‑R1200 Semi Automatic Barrel Screen Printing Machine?
- 5 Application Scenarios – What Can You Print?
- 6 Frequently Asked Questions (FAQ)
- 7 Ready to Start Printing on Your Buckets?
Semi Automatic Barrel Screen Printing Machine: How to Print on Industrial barrel
In the industrial packaging sector, marking logos, batch codes, or usage instructions on plastic buckets is a daily challenge. Many manufacturers struggle with inconsistent print quality, slow manual processes, or expensive pre-printed containers. The solution lies in a dedicated semi automatic barrel screen printing machine – a cost‑effective, pneumatic‑driven system designed specifically for cylindrical and conical containers. In this guide, we walk you through the entire sampling process, from screen preparation to finished product, using the JST‑R1200 bucket screen printing machine.
Not sure which screen printing machine fits your plastic cup? Or need a custom fixture mold for your metal tube, plastic tube, plastic cup?
👇 Click my photo below to chat with me directly on WhatsApp — I’ll send you a free tailored quote within 8 hours.

In this guide you will learn:
- How to prepare a custom screen and fixture for your bucket
- Step‑by‑step machine setup (height, stroke, squeegee)
- The mechanical principle behind precise 360° printing
- Pro tips to avoid common mistakes
Pre-Press Preparation: What You Need Before Printing
Step 1: Prepare a Custom Screen with Your Logo
Operation: Create a screen frame (max size 550×300mm or larger up to 1200mm length) with your bucket’s logo design using standard screen‑making processes – coat emulsion, expose, washout.
Purpose / Principle: The screen transfers ink only through the open mesh areas. For bucket printing, a one‑color screen is sufficient for most logos, text, or barcodes.
Key Points to Note: Use a mesh count appropriate for plastisol or UV ink – lower mesh (e.g., 110-160) for thick ink coverage on dark buckets, higher mesh (200-305) for fine details. Ensure the screen is tensioned evenly to avoid image distortion during the printing stroke.
Pro Tip: For large buckets (e.g., 20L pails), choose a screen frame length that matches your bucket’s circumference – the JST‑R1200 supports up to 1200mm print length.

Step 2: Make a Dedicated Bucket Fixture
Operation: Machine a fixture that matches the bucket’s bottom diameter and shape. For cylindrical buckets, the fixture uses four rubber‑coated rollers; for conical buckets (tapered pails), a custom support mandrel is required.
Purpose / Principle: The fixture holds the bucket securely while allowing it to rotate freely. During printing, the screen moves laterally, and friction between the screen and bucket rotates the bucket – no separate motor is needed.
Key Points to Note: Different bucket sizes need different fixtures. A loose fixture causes slipping and ghost images; a tight fixture prevents rotation. Always test the rotation by hand before printing.
Pro Tip: Keep a set of standard fixtures for common bucket sizes (1L, 5L, 10L, 20L). For unusual tapers, our engineering team can design a CNC‑machined mandrel.

Step 3: Install the Screen Plate
Operation: Clamp the prepared screen onto the machine’s screen holder (located on the lateral pneumatic cylinder). Adjust the front‑back and left‑right position so the logo aligns with the center of the bucket’s printing area.
Purpose / Principle: The screen must be parallel to the bucket’s surface. Any misalignment will cause uneven ink deposit or image skew.
Key Points to Note: Tighten all clamps firmly. The screen should not move during the printing stroke. For half‑circle printing (up to 190mm diameter), position the logo within the bucket’s visible area.

The Printing Workflow: Step-by-Step Setup
Step 4: Place the Blank Bucket on the Fixture
Operation: Manually load the plastic bucket onto the fixture. Ensure it sits flush against the back‑stop or rollers.
Purpose / Principle: The bucket must be centered and level. Since the JST‑R1200 is a semi‑automatic machine, manual loading gives you full control over positioning before each print.
Key Points to Note: Wipe the printing area with a mild degreaser or isopropyl alcohol to remove dust, oil, or mold release agents – this improves ink adhesion, especially on PP or PE plastic.

Step 5: Adjust the Worktable Height
Operation: Use the handwheel under the worktable to raise or lower the entire table (which holds the fixture and bucket). The goal: when the table rises (by pneumatic cylinder), the top quadrant point of the bucket just touches the screen’s underside.
Purpose / Principle: Proper contact pressure ensures the screen can transfer ink onto the bucket without excessive force that might break the screen or deform the bucket.
Key Points to Note: Start with light contact, then gradually increase until you see a clean ink transfer. Too much pressure causes ink bleeding; too little causes incomplete prints.

Step 6: Adjust the Printing Head Height
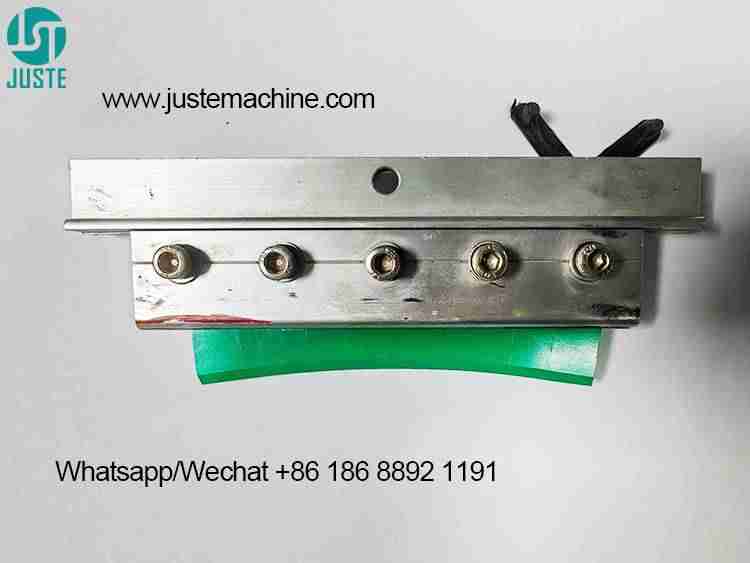
Operation: Adjust the vertical position of the squeegee (scraper) holder. The squeegee should press the screen down with an angle of about 65–75° and a pressure of around 0.5 MPa (air pressure setting).
Purpose / Principle: The pneumatic squeegee drive pushes ink through the mesh. Proper squeegee height and angle ensure consistent ink film thickness.
Key Points to Note: Use a sharp, straight squeegee blade for buckets – worn blades leave streaks. The return (flood) blade should be slightly higher than the squeegee.
Step 7: Set the Printing Stroke Length
Operation: Adjust the stroke limit switches or mechanical stops on the screen‑carriage cylinder. The stroke should be slightly longer than the logo’s length (e.g., for a 150mm logo, set stroke to 170mm).
Purpose / Principle: The screen moves horizontally, pulling the bucket into rotation via friction. The stroke length determines the arc of bucket rotation covered by the print.
Key Points to Note: For full‑circle printing (e.g., wrapping a label around the entire bucket), you need a stroke equal to the bucket’s circumference. JST‑R1200 can print up to 1200mm length, suitable for buckets up to 380mm diameter (full circle). For half‑circle, adjust accordingly.
Step 8: Sample Print and Final Product
Operation: Place the bucket on the fixture, press the foot pedal. The worktable rises, the squeegee presses down, and the screen moves – the bucket rotates and the logo is printed. Release the pedal; the table lowers. Manually remove the printed bucket.
Purpose / Principle: One complete cycle prints your logo. If using UV ink, the printed bucket must pass through a UV curing oven (sold separately) for instant drying. Plastisol ink requires heat curing (e.g., IR tunnel dryer).
Key Points to Note: Inspect the first sample for registration, ink coverage, and adhesion. For multi‑color logos, you can perform sequential printing: print color 1, manually rotate the bucket to align the next screen (using a matching gear on the fixture), then print color 2 – the mechanical gear rack ensures zero‑slip positioning.

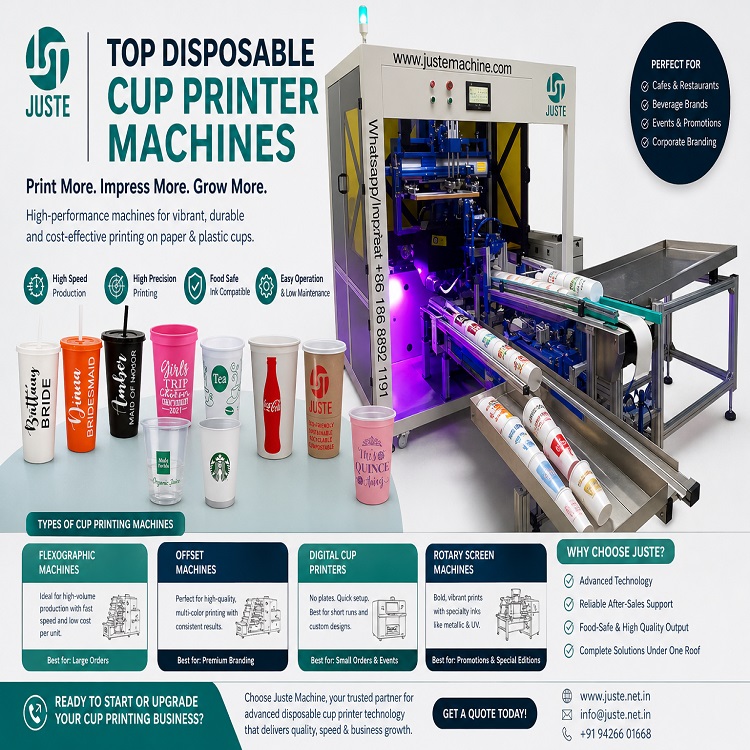
Why Choose the JST‑R1200 Semi Automatic Barrel Screen Printing Machine?
This machine is not just for buckets – it’s a versatile barrel screen printer that also handles cylindrical, conical, oval, and even flat products (by switching to flatbed mode). Here are its core advantages:
- 2‑in‑1 Functionality – Print on round (cylindrical/conical) and flat surfaces with the same machine.
- Pneumatic Operation – Reliable AIRTAC cylinders and SMC/AIRTAC solenoid valves ensure long service life.
- High Speed – Up to 1500 pcs/hour (depending on operator loading speed).
- Easy Multi‑Color Registration – Mechanical gear rack drive allows zero‑error manual color alignment – no expensive servo motors needed.
- Wide Application – From 1L paint pails to 200L industrial drums, glass bottles to silicone tubes.
Technical Specifications (JST‑R1200 model)
| Parameter | Value |
|---|---|
| Max screen frame | 550×300mm (or larger, custom) |
| Max printing length | 300mm (400mm 600mm 800mm 1000mm 1200mm size for choice) |
| Max printing diameter | Whole circle 95mm / Half circle 190mm (customizable) |
| Air pressure | 0.5 MPa |
| Machine weight | 160kg (with wooden case) |
| Power | 220V/50Hz or 110V/60Hz |
Application Scenarios – What Can You Print?
The plastic bucket screen printing machine is widely used across industries. With the JST‑R1200, you can print on:
By Material:
- Plastic (PP, PE, PVC, PET, Acrylic)
- Metal (aluminum cans, steel drums, tin buckets)
- Glass (bottles, jars)
- Ceramic, wood, bamboo, silicone
By Industry & Product:
| Industry | Example Products |
|---|---|
| Paints & Coatings | 1L–20L plastic paint buckets, metal pails |
| Chemicals | Industrial drums, lubricant bottles, detergent containers |
| Food | Honey buckets, oil drums, bulk spice jars |
| Cosmetics | Lotion bottles, shampoo jars, cream pots (on flat mode) |
| Beverage | Beer kegs, water cooler bottles (with large fixture) |
The machine also handles conical cups (milk tea cups), cylindrical bottles, and even square containers when using the flat printing mode.
Frequently Asked Questions (FAQ)
Q: Are you a manufacturer of screen printing machines?
A: Yes, Shenzhen Juste Machine Co., Ltd. has been a direct manufacturer since 2002, with our factory located in Dongguan, China. We produce all our machines in‑house.
Q: Can this barrel screen printer print on tapered (conical) buckets?
A: Absolutely. With a custom‑machined support mandrel (cone fixture), the machine handles tapered containers perfectly – the screen moves linearly while the bucket rotates, maintaining contact.
Q: What is the printing speed for 20L buckets?
A: Up to 1500 pieces per hour for small to medium buckets. Larger drums (e.g., 200L) may be slower due to manual handling, but the machine cycle itself is very fast.
Q: Do you provide a warranty?
A: Yes, a 1‑year warranty covers all pneumatic parts and structural defects. We also provide lifetime technical support, video training, and spare parts.
Q: How does multi‑color registration work without a computer?
A: The bucket is mounted on a fixture with a gear at the back. You print the first color, then manually rotate the bucket to align the next screen. The gear rack (same diameter as the bucket) ensures precise, slip‑free indexing – a reliable mechanical solution.
Q: Can I use UV ink? Do I need a curing oven?
A: Yes, UV ink works very well on plastic buckets. However, UV ink requires a separate UV curing oven after printing. Read our comparison guide: UV Dryer vs IR Dryer – Curing Guide.
Q: What is your lead time for a customized machine (e.g., longer stroke)?
A: Standard JST‑R1200 ships in 15‑20 working days. Customized machines (special fixtures, longer stroke, different voltages) require 25‑30 working days.
Ready to Start Printing on Your Buckets?
The semi automatic barrel screen printing machine from Juste Machine delivers consistent, high‑quality prints on plastic, metal, and composite buckets – at a fraction of the cost of pre‑printed containers. Whether you need a single machine for small batch orders or multiple units for a production line, we offer customized solutions.
Not sure which screen printing machine fits your plastic cup? Or need a custom fixture mold for your metal tube, plastic tube, plastic cup?
👇 Click my photo below to chat with me directly on WhatsApp — I’ll send you a free tailored quote within 8 hours.