커피 컵용 자동 컵 스크린 인쇄기
테이퍼 커피 컵의 불규칙한 정렬에 어려움을 겪고 계신가요? JST‑R300 완전 자동 컵 스크린 인쇄기 이를 서보 구동 정밀도로 해결합니다 – 최대 인쇄 시간당 4,500컵 with ±0.1mm 정밀도. 이 문서는 완전한 인쇄 작업 흐름을 설명하고, 얼음 아래에서 잉크 벗겨짐, 인쇄 고스팅, 고정구 불일치와 같은 일반적인 문제에 대한 해결책을 제공합니다. 그리고 단순히 읽기만 하는 것이 아닙니다: 우리의 영어를 구사하는 엔지니어 화상 통화에서 실시간으로 전체 과정을 보여드리며, 사용하여 자체 제품 샘플.
이 데모에서 볼 수 있는 것:
- ✅ 자동 적재 시스템이 컵을 연속적으로 공급하며 걸림 없이 작동하는 방법
- ✅ 코로나 처리가 왜 종이컵에 생략되는가 – 플라스틱이 필요할 때
- ✅ 어떻게 솔기선 센서 (선택 사항) 종이컵 이음새 위에 인쇄되지 않도록 합니다
- ✅ 그 인쇄 스테이션 듀얼 서보 모터, 전자석 척, 즉시 등록 기능
- ✅ 어떻게 UV‑LED 경화 (1kW, 395nm) 즉시 내스크래치 결과 제공
- ✅ 자동 하역, 적재, 계수 – 모두 수동 개입 없이
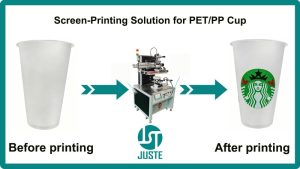
- ✅ 그리고 마지막으로 완성된 스타벅스 스타일 커피 컵 – 선명하고 내구성 있으며 브랜딩에 적합함
👉 먼저 보고 싶으신가요? 우리 엔지니어가 동일한 프로세스를 함께 실행할 것입니다. 컵 디자인 비공개 화상 통화 – 통역사 필요 없음. 지금 무료 라이브 데모를 예약하세요.
내용물
핵심 혜택 한눈에 보기
| 혜택 | 중요한 이유 |
|---|---|
| ±0.1 mm 등록 | 모든 인쇄물이 정확히 원하는 위치에 도달합니다 – 여러 번 패스를 거치는 다색 작업에서도 마찬가지입니다. |
| 4,500–4,800 개/시간 | 상업용 주문에도 높은 생산량을 제공하면서 완전 자동화되어 인건비를 절약합니다. |
| 8스테이션 로터리 턴테이블 | 전처리, 인쇄, 경화, 언로딩이 동시에 이루어져 대기 시간이 없습니다. |
| 실제 제조사 제작 | 9,000m² 공장, 10개의 CNC 센터, 그리고 2013년부터 자체 엔지니어링. |
| 엔지니어와 상담하세요 – 영어로 | 언어 장벽이 없습니다. 20년 경력의 PLC 전문가가 유창한 영어로 귀하의 화상 통화에 참여하여 기술적인 질문에 즉시 답변해 드립니다. |
| 무료 선적 전 동영상 검사 | 완성된 기계를 포장하기 전에 함께 살펴봅니다 – 모든 세부 사항을 확인하시고 필요시 조정해 드립니다. |
단계별: 스타벅스 스타일 커피 컵 인쇄 방법
아래 이미지는 모두 실제 생산을 보여줍니다. JST‑R300 at our Shenzhen factory.
Step 1: Auto‑Loading Magazine & Conveyor
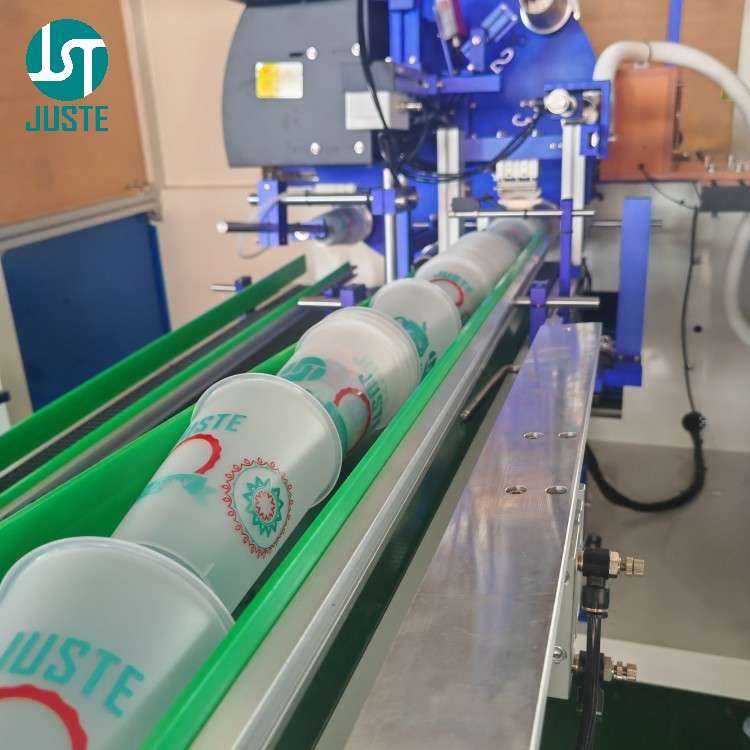
The operator places stacks of blank cups onto the loading magazine. An infrared sensor on the conveyor detects when cups are running low; if empty, the air cylinder lifts the magazine and transfers a new batch onto the belt. This ensures continuous feeding – no manual reloading during production.
Step 2: Pick‑and‑Place Robotic Arm
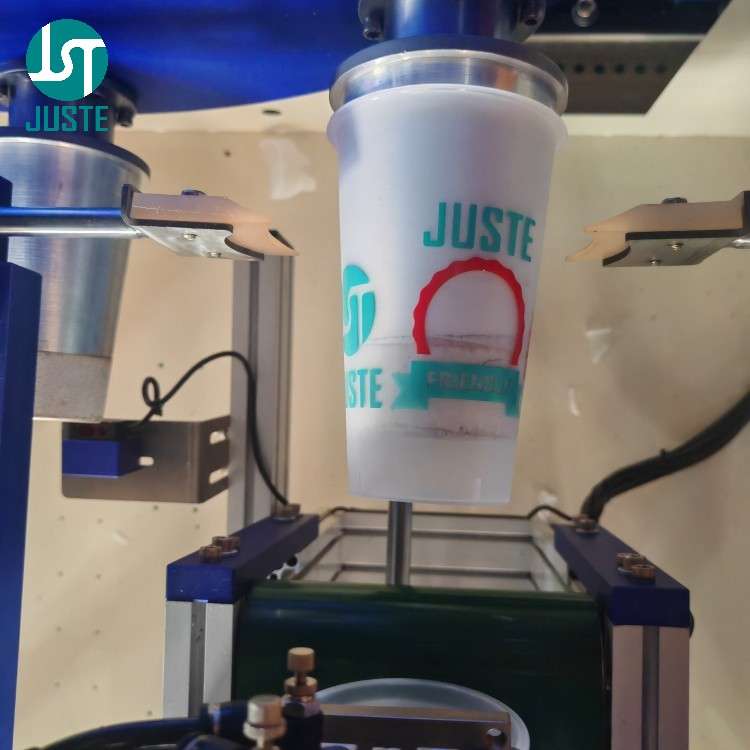
A servo‑driven robotic arm picks each cup from the conveyor and places it into a custom‑machined fixture on the 8‑station turntable. The fixture is CNC‑machined in‑house (accuracy ±0.01 mm) to perfectly match the cup’s taper, guaranteeing zero movement during printing.
🔧 Trust anchor: All fixtures are made on our own 10 CNC machines – we control quality and lead time.
Step 3: Corona Treatment (for Plastic Cups – Skipped for Paper)
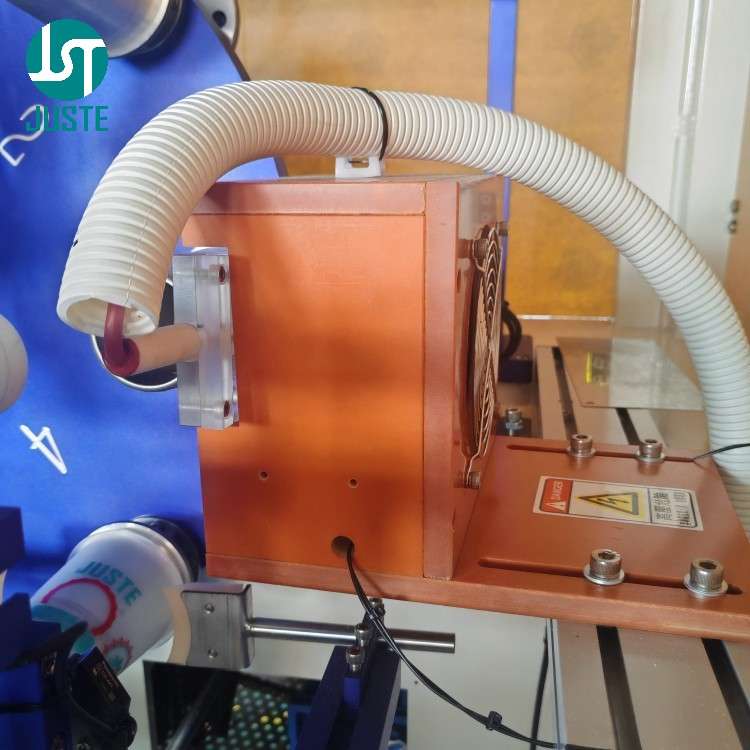
을 위한 PP, PET, or PVC cups, this station increases surface energy so that UV ink adheres strongly. However, in this paper cup demo we skip corona treatment – paper fibres naturally absorb the ink, so no pre‑treatment is needed. The machine’s PLC allows you to enable/disable this station with one touch.
Step 4: Empty‑Fixture Detection – Prevent Ink on Tooling
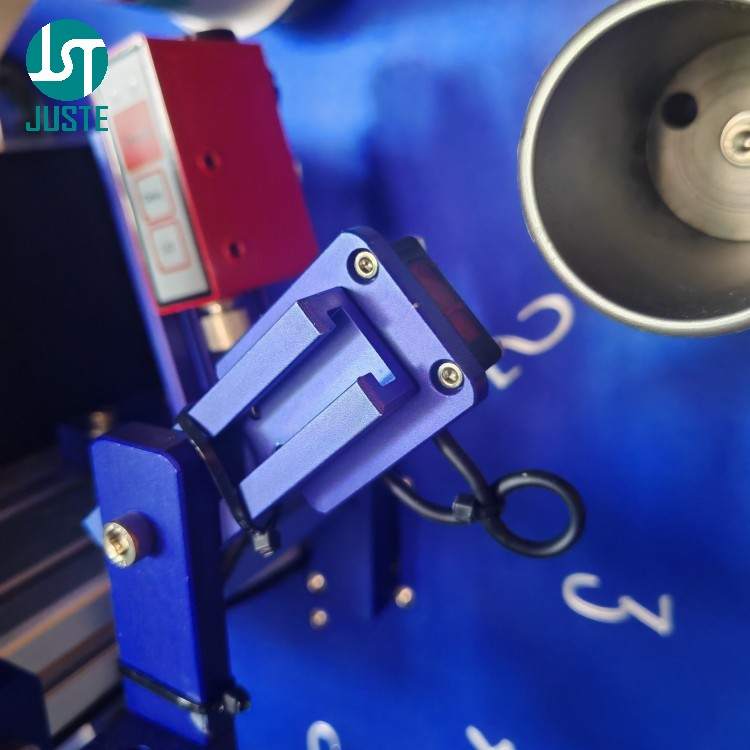
Before the turntable advances to the printing station, a sensor checks whether a cup is actually seated in the fixture. If no cup is detected, the machine alarms and stops the print head – preventing expensive UV ink from being squeezed directly onto the tooling. This feature reduces waste and tool‑cleaning downtime.
Step 5: Seam‑Line Sensor (Optional Add‑on for Paper Cups)
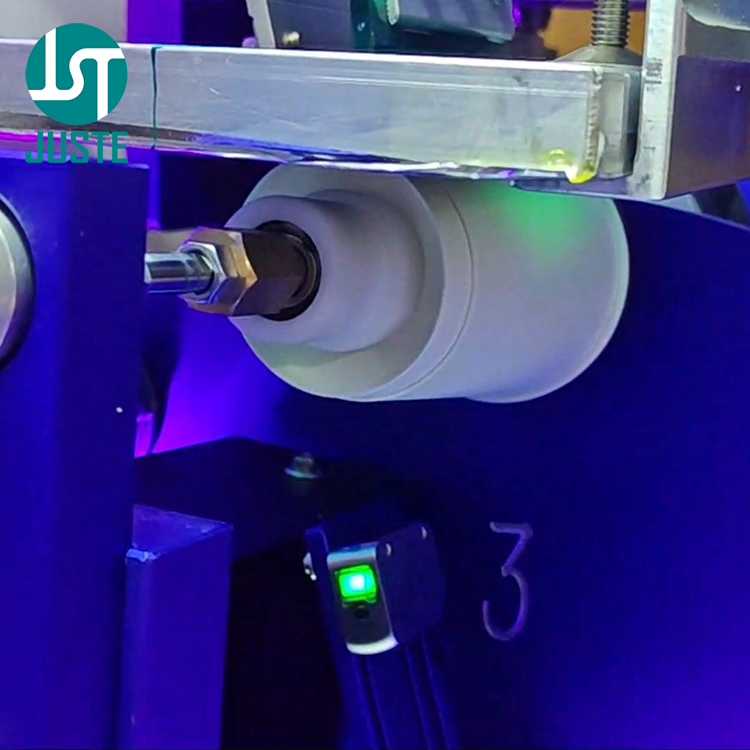
Paper cups have a vertical seam that creates an uneven surface. This optional sensor detects the seam’s position and signals the PLC to skip printing over that area – so your logo never lands on the seam, ensuring a professional finish.
Step 6: The Printing Station – Precision in Motion
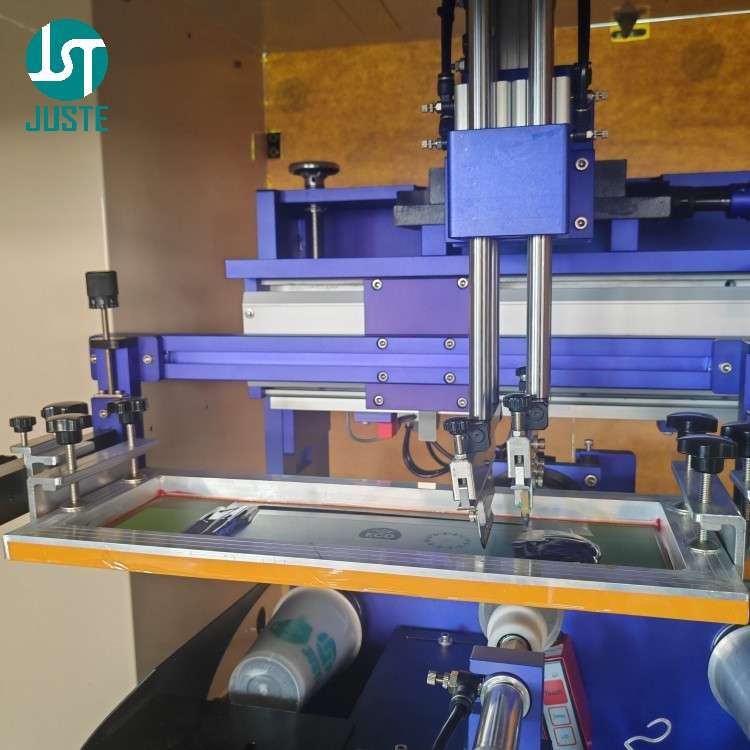
This is the heart of the machine.
- 안 electromagnetic chuck behind the fixture engages and holds the cup firmly.
- 에이 rotary servo motor spins the cup in perfect sync with the screen’s movement.
- Meanwhile, a linear servo motor drives the screen (mesh) left and right via a TBI precision screw.
- The squeegee presses down, transferring UV ink through the mesh onto the cup surface.
All movements are controlled by the PLC and two servo motors – giving you the ±0.1 mm registration that makes multi‑colour jobs possible.
📐 Fixture Customization for Different Cup Sizes: Since cups from 4oz to 32oz vary significantly in diameter, taper, and height, we provide custom‑machined fixtures for each size. This three‑point support design ensures the cup remains stable during printing, thereby avoiding ghosting or misregistration caused by movement. For example, a 32oz large cup requires a dedicated fixture with taller support posts.
Step 7: Sensor Swap for Multi‑Colour Overprint
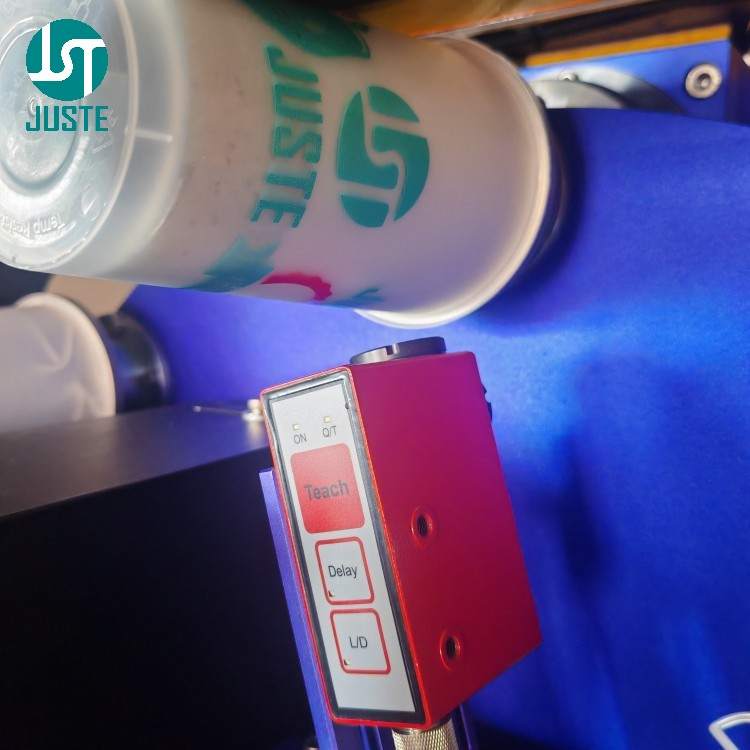
To print a second colour, we switch the seam‑line sensor (for paper cups) with a Leuze contrast sensor. This sensor detects registration marks printed in the first pass and guides the second screen for perfect alignment – achieving multi‑colour results through sequential overprinting, all with the same single print head.
This is how we turn a single‑colour machine into a multi‑colour printer – without investing in a 4‑colour carousel.
Step 8: UV‑LED Curing – Instant, Energy‑Efficient
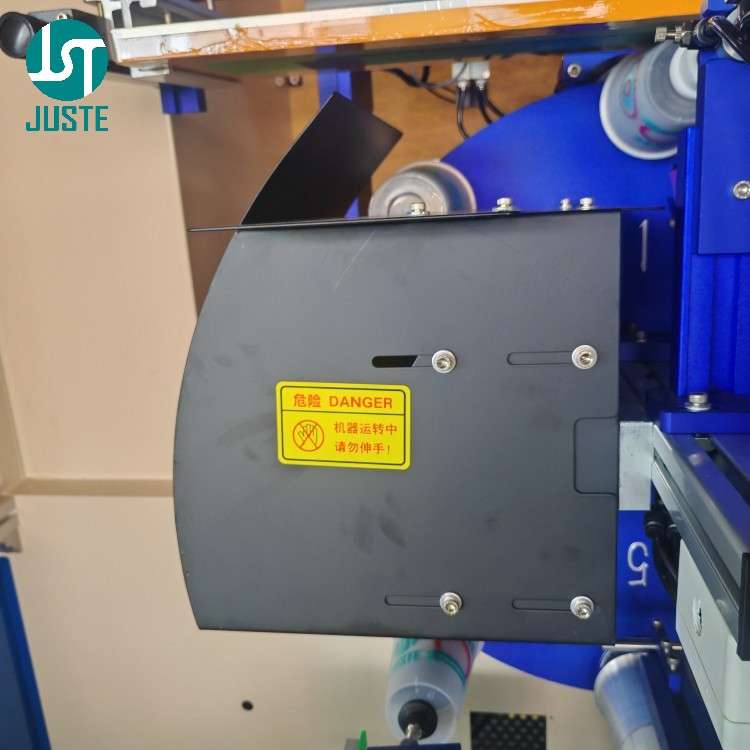
Immediately after printing, the cup passes under a 1 kW UV‑LED lamp (395 nm). The UV light instantly polymerises the ink, so cups can be stacked or packed right away – no drying racks, no waiting. You can adjust curing time directly on the touchscreen PLC to match your ink and cup material.
Step 9: Auto‑Unloading with Vacuum Suction
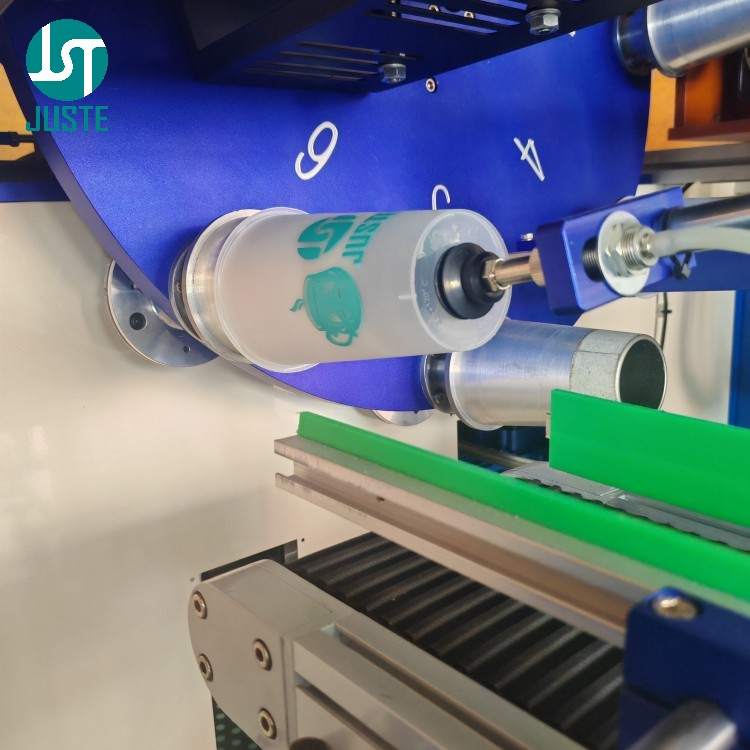
A second robotic arm picks the cured cup from the turntable using vacuum suction and places it onto an outfeed conveyor. Important design note: the fixture must not be too tight – otherwise the suction may not release the cup. Our engineers always verify the fit during fixture design to avoid this issue.
Step 10: Automated Stacking & Counting
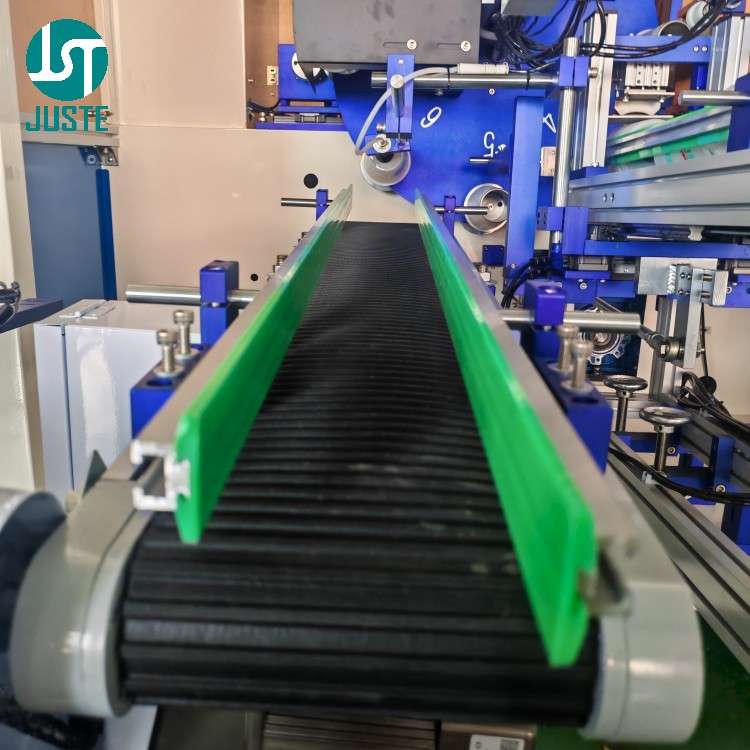
Cups on the conveyor are aligned and pushed into a stacking magazine. A sensor counts the cups; when the stack reaches a pre‑set count (say 50), an air cylinder separates it, and the stack is pushed to the packaging area. No manual counting or stacking – the machine does it all.
Step 11: Finished Product – Starbucks‑Style Coffee Cup

The final result: a beautifully printed tapered paper cup, with crisp edges, accurate registration, and a durable finish that survives hot beverages. Whether you are printing for coffee chains, bubble tea shops, or catering suppliers, the JST‑R300 delivers consistent quality – and you can verify it before you buy.
자주 묻는 질문(FAQ)
질문: 귀사는 제조업체입니까, 아니면 무역 회사입니까?
A: We are a 직접 제조업체 – Shenzhen Juste Machine Co., Ltd., established in 2013. We own a 9,000 m² factory with in‑house CNC, assembly, and testing lines. You deal with the factory, not a middleman. → Book a live video tour of our factory with our English‑speaking sales team.
Q: Can this machine print on my specific product (tapered cups, bowls, plastic bottles)?
A: Yes – it handles tapered cups, bowls, and conical containers from 4 oz to 32 oz, made of paper, PP, PET, or PVC. We custom‑machine fixtures for your exact product. (Note: it cannot print on straight cylindrical cups – the taper is essential for proper registration.) → Send us your sample for a free print test and live demo.
Above: Fixture size comparison – 4oz (left) vs 32oz (right). Each cup size requires a dedicated fixture for stable three‑point support.
Q: 다른 공급업체보다 가격이 왜 더 높나요?
A: Because we don’t cut corners. We use genuine HIWIN guides, AIRTAC pneumatics, and TBI screws – all verified brands. Our machines undergo 48‑hour burn‑in and every unit is individually tested with your product before shipping. Based on our experience with clients in 120+ countries, paying slightly more upfront saves you far more in downtime and repairs. → Let us calculate your ROI based on your production volume.
Q: 귀사의 엔지니어들은 영어를 구사합니까? 번역기 없이 의사소통이 가능합니까?
A: Absolutely. Our senior mechanical and PLC engineers are fluent in English – they will join your video call directly to answer technical questions, explain machine settings, and even guide you through maintenance procedures. No translation delays, no misunderstandings. → Schedule a 15‑minute video call with our English‑speaking engineer.
Q: 결제 전에 기계가 내 제품을 인쇄하는 모습을 볼 수 있나요?
A: Yes – we offer a 무료 라이브 비디오 데모 where we run your actual product samples. You’ll see the entire process in real time, and our engineer will explain every step in fluent English. If you’re not 100% satisfied, there’s no obligation. → Request your free live sample‑printing video now.
질문: 제품 배송 전에 검사할 수 있나요?
A: Yes – we conduct a pre‑shipment video inspection with you. We’ll walk through the machine, show you the component brands, run a test, and confirm all configurations. Only when you sign off do we pack and ship. → Arrange your pre‑shipment video inspection.
질문: 컵에 얼음을 넣으면 인쇄된 로고가 벗겨지는 이유는 무엇인가요?
A: This happens because standard inks become brittle and lose adhesion at low temperatures. For cold‑drink applications, we recommend low‑temperature resistant PP screen printing ink, which maintains adhesion in freeze tests down to -38°C. We can recommend specific ink models based on your cup material and usage scenario. → Contact us for the perfect ink solution for your cold cups.
Q: Why do my printed cups have ghosting or blurry images?
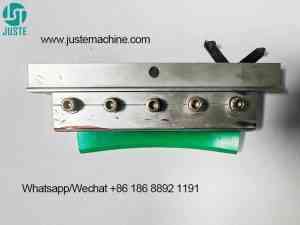
A: Ghosting usually comes from two causes: unstable fixturing (the cup moves during printing) or uneven squeegee pressure. Our JST‑R300 를 사용합니다 mechanical rack‑and‑pinion drive combined with a three‑point stable fixture to minimise mechanical vibration. We also provide technical support to help you adjust squeegee pressure (recommended 2.5‑3.0kg) for optimal results. → Contact us for technical support on ghosting issues.
Q: What maintenance does the machine require after printing?
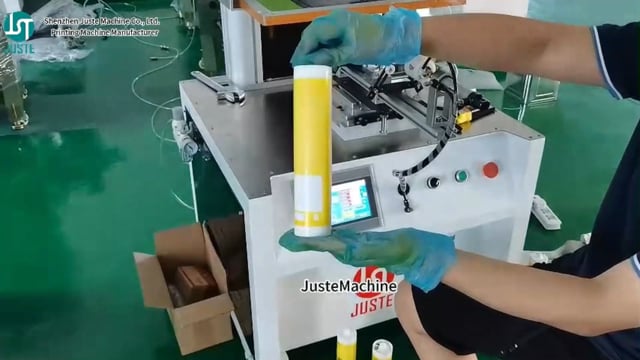
A: After each printing session, we recommend cleaning the screen mesh with 스크린 세척 용제 to remove residual ink and prevent clogging. Regular cleaning extends mesh life and ensures consistent print quality. Our English‑speaking engineers can guide you through the complete maintenance procedure on a video call. → Download our maintenance checklist or schedule a walkthrough.
인쇄 후 스크린 메쉬 청소 방법 (빠른 가이드)
Since screen mesh cleaning is essential for maintaining print quality, here are the basic steps:
- Remove the screen frame from the machine and place it on a flat, clean surface.
- Apply 스크린 세척 용제 evenly over the mesh surface using a soft sponge or brush.
- Gently scrub both sides of the mesh to dissolve residual UV or solvent ink.
- Rinse thoroughly with water and blow‑dry with low‑pressure air.
- Inspect the mesh under light for any remaining ink particles – repeat if necessary.
💡 프로 팁: Our engineers can demonstrate this entire procedure on a live video call, tailored to your specific ink type and production volume. → Book a maintenance demo.
인쇄 사업을 시작할 준비가 되셨나요?
You’ve just read a detailed walkthrough. Now imagine getting a private, real‑time video walkthrough of your own product being printed, guided by our 20‑year PLC engineer – 모두 유창한 영어로 소통했으며, 의사소통에 아무런 문제가 없었습니다..
Here’s how it works:
- 디자인과 몇 개의 빈 제품 샘플을 보내주세요.
- We custom‑machine a fixture and run your print test.
- We go live on video – our English‑speaking engineer shows you everything, answers your technical questions on the spot, and you see the final print result in real time.
There is zero risk. If you’re not 100% convinced, you walk away with no obligation. And before shipping, we’ll do a pre‑shipment video inspection with you, so you know exactly what’s in the crate.
어느 쪽인지 잘 모르겠어요 스크린 인쇄기 fits your cup? Or need a custom fixture? Click the image below to chat with us directly.

앨런
🟢 지금 온라인 상태입니다 - 몇 분 안에 답변드립니다
안녕하세요, 저는 앨런입니다, 당신의 프린팅 솔루션 전문가입니다.
WhatsApp에서 채팅하려면 내 사진을 클릭하세요 무료 견적 또는 예약하세요 지금 공장 영상 투어.
📧 이메일: Alan@justcig.com
💬 왓츠앱: 채팅하려면 클릭하세요(새 탭에서 열기)
🌐 웹사이트: www.justemachine.com(새 탭에서 열기)