How to Screen Printing for Metal Parts: Cylindrical Engine Component Printing Demo Struggling with durable, high-precision printing on cylindrical metal engine components? The JST-R400-CSM screen printing machine for metal parts solves this challenge with servo-driven accuracy, delivering up to 1500 perfectly registered pieces per hour with ±0.1mm registration precision. This cylindrical screen printing machine handles metal parts with the same reliability as it handles plastic cups and bottles — and you can see your own engine parts printed live, guided by our English-speaking engineer. In this demo, you’ll see:
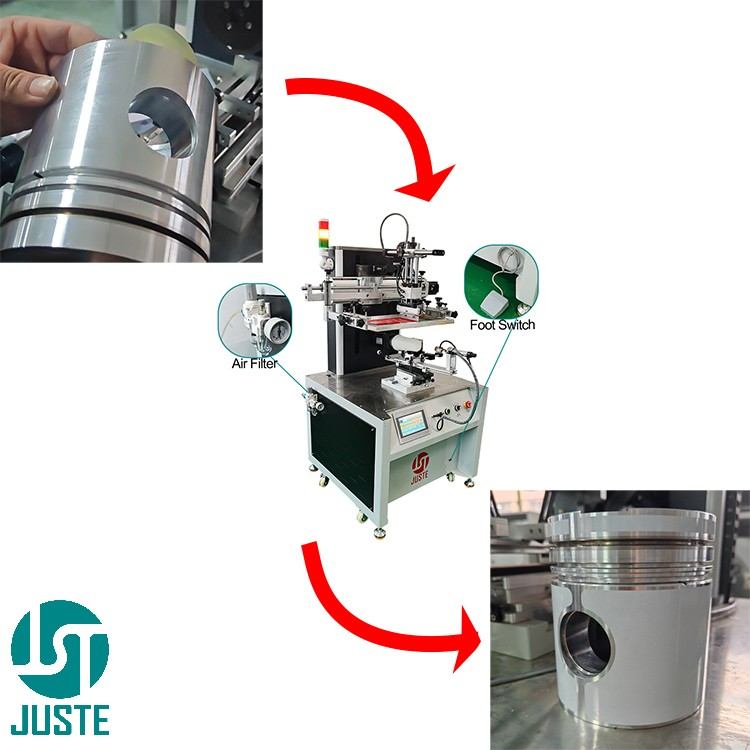
How a raw cylindrical engine part becomes a precisely printed component
The complete pre-print preparation — screen, fixture, and ink
The machine in action, printing on cylindrical and conical products
The finished result — sharp, durable, and perfectly registered
Post-print cleanup to keep your screens ready for the next run
Machine Overview — From Raw Part to Finished Print
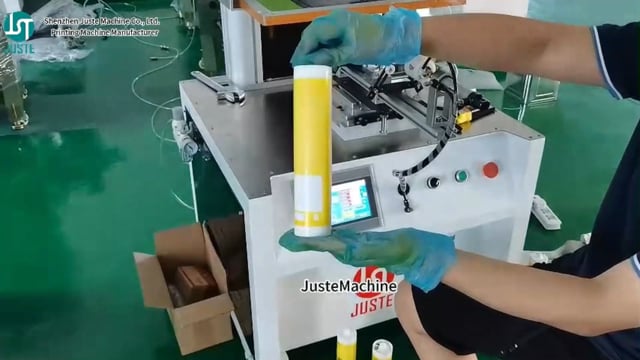
The JST-R400-CSM cylindrical screen printing machine bridges the gap between raw metal components and finished printed parts. Whether you’re printing part numbers, logos, or specifications on engine pistons, bearing races, or other cylindrical metal components, this machine delivers consistent, high-quality results.
The workflow is simple: place your raw engine part onto the machine → the automatic printing cycle applies the design → you get a finished, precision-printed component ready for assembly or shipment.
Cylindrical Screen Printing Machine for Metal Parts: Live Demo
Pre-Print Preparation — Custom Screen with Logo
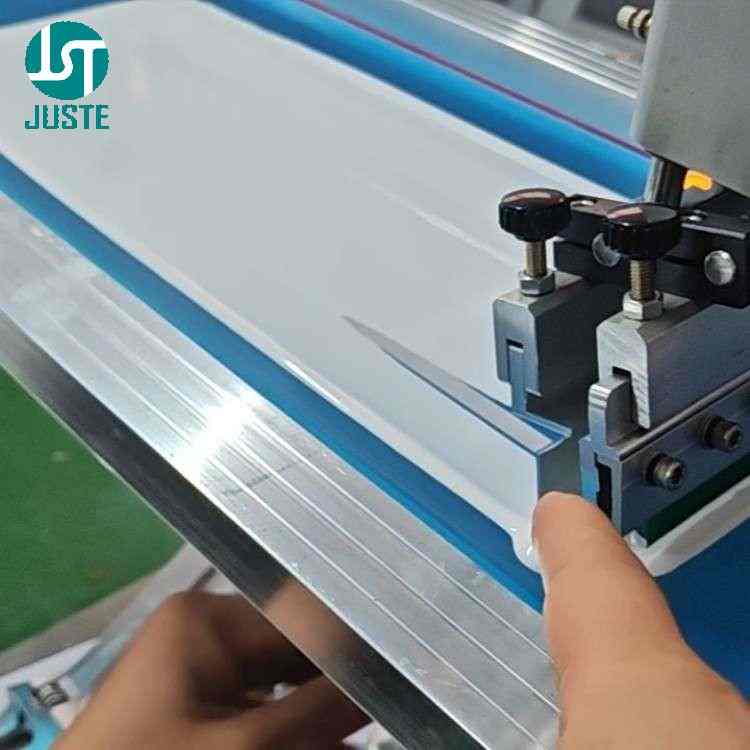
Before any printing begins, we prepare a precision screen stencil with your logo or design. The screen is mounted on a CNC-machined frame that ensures uniform tension across the entire mesh — the foundation of every sharp, consistent print.
For metal engine parts, screen mesh selection and tension are critical. The screen must hold fine detail while allowing sufficient ink passage for durable adhesion on metal surfaces. Each screen is custom-made for your specific design requirements.
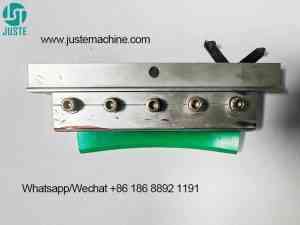
Precision screen stencil for cylindrical engine part screen printing
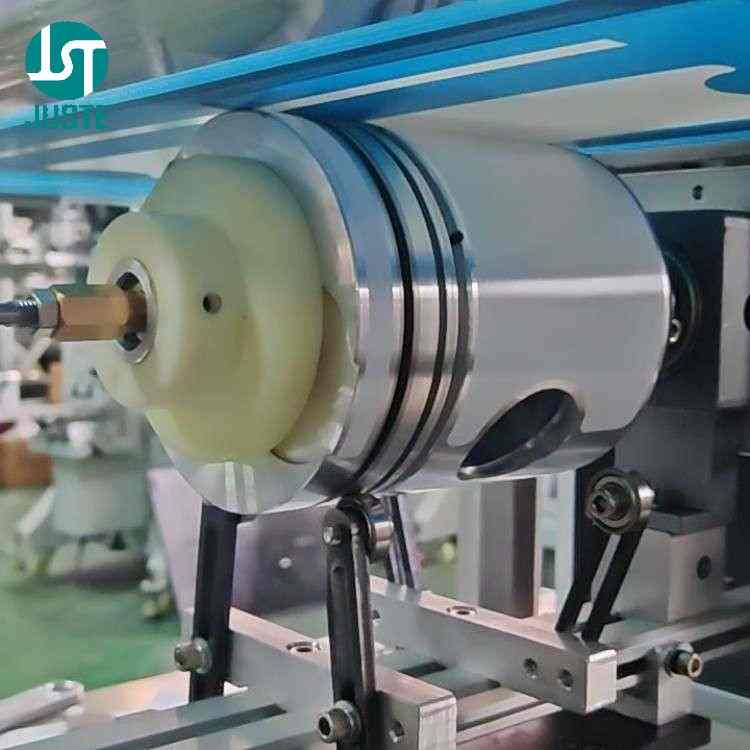
The universal fixture is the key to stable, accurate printing on cylindrical metal parts. This fixture features four adjustable support feet that must be carefully calibrated so the printing surface is perfectly parallel to the screen mesh.
Why this matters: If the fixture is not parallel to the screen, the print will be uneven — thicker on one side, thinner on the other. For metal engine components that require precise marking for traceability or branding, this parallelism is non-negotiable.
Adjustment process:
Place the engine part securely on the fixture
Adjust the four support feet individually
Verify that the printing surface is level and parallel to the screen
Lock the adjustment in place
Proper fixture setup ensures consistent print quality across every part in your production run.
CNC-machined fixture for cylindrical engine parts on JST-R400-CSM
Pre-Print Preparation — Ink Selection
For metal parts, you have two primary ink options, each with distinct advantages:
Ink Type
Curing Method
Best For
Solvent Ink
Air dry (2 hours surface dry, 24 hours fully cured)
Lower-volume production, simpler setup
UV Ink
UV curing system (instant cure)
High-volume production, maximum durability
Solvent-based inks chemically bond to the metal surface and offer excellent durability and chemical resistance. They are the most commonly used formulation for coated metals.
UV inks cure instantly under UV light, allowing immediate handling and faster production speeds. However, UV ink shrinks rapidly during curing, which can create stress at the adhesion point — proper surface preparation is essential.
For automotive engine components that face heat, vibration, and chemical exposure, we recommend UV ink with proper pre-treatment for maximum durability.
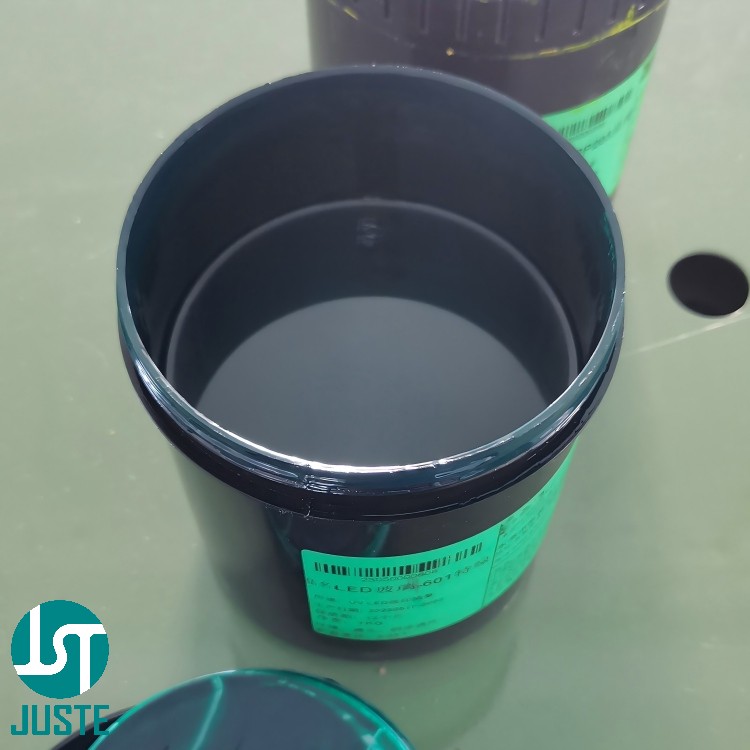
UV ink preparation for metal engine part screen printing
The Machine — Printing Cylindrical and Conical Products
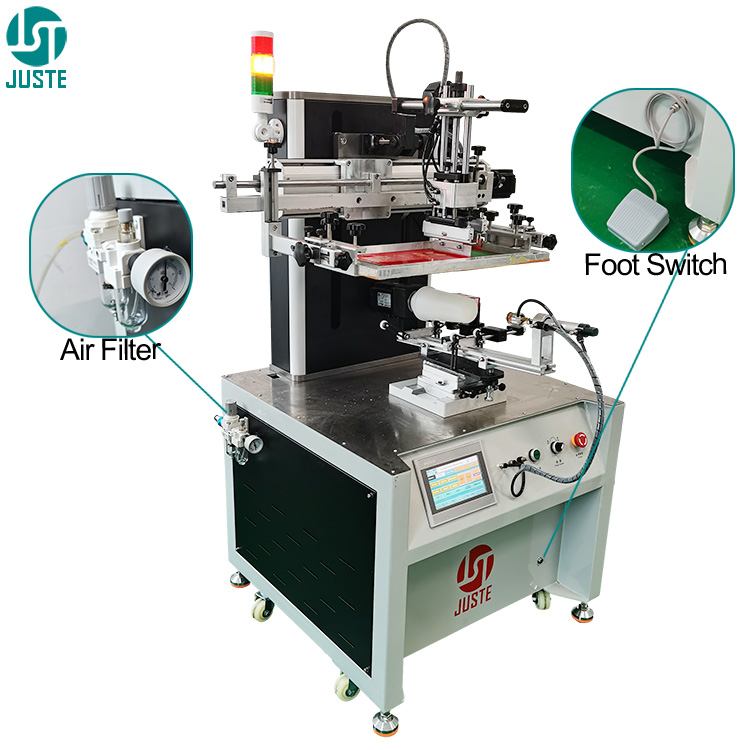
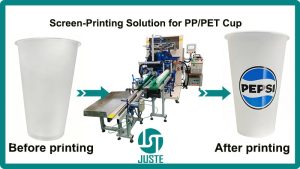
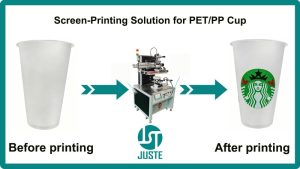
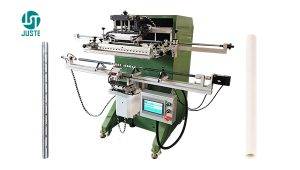
The JST-R400-CSM is a versatile multi color screen printing machine designed for all cylindrical and conical products. While this demo focuses on engine parts, the same machine handles plastic cups, glass bottles, metal tubes, and even conical products like tapered milk tea cups.
Key machine features:
Servo motor drive for smooth, precise rotation and registration
LEUZE contrast sensor for multi-color registration (supports 2-10 colors)
PLC touch screen control for easy operation
Maximum printing length: 400mm
Maximum printing diameter: 127mm (full circle) / 254mm (half circle)
Printing speed: Up to 1500 pieces per hour
Accuracy: ±0.1mm registration
The machine accommodates cylindrical metal parts of various diameters, with the fixture system ensuring secure holding throughout the printing cycle. Whether you’re printing engine pistons, bearing races, or other cylindrical automotive components, the JST-R400-CSM delivers consistent, repeatable results.
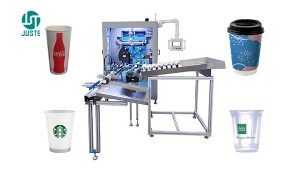
Semi Automatic Cup Screen Printing Machine
Finished Result — Perfect Print Quality
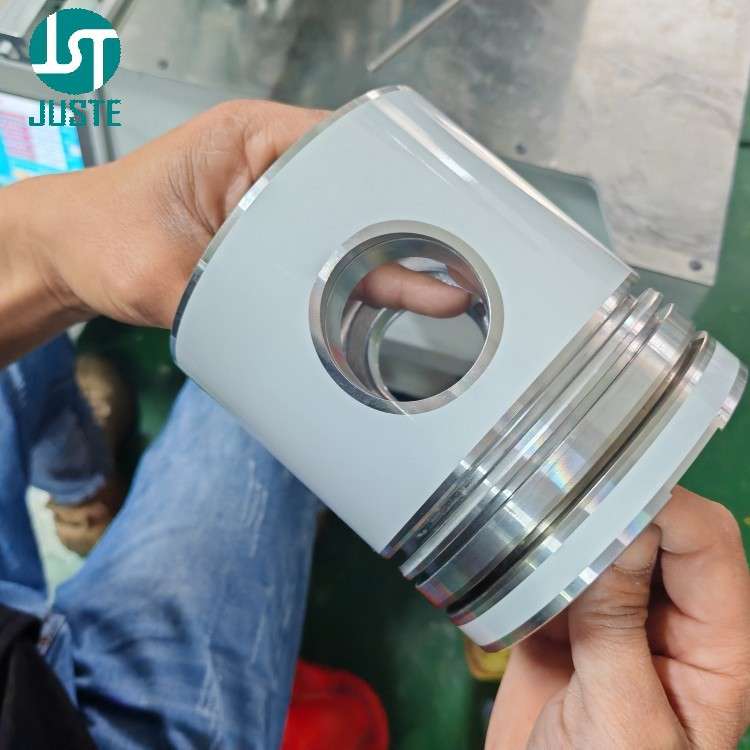
The final result: a crisp, durable print with excellent edge definition and adhesion. The logo or marking is perfectly registered, with consistent ink coverage across the entire printing surface.
For metal engine components, print quality isn’t just about appearance — it’s about durability. The ink must withstand:
High temperatures (engine operating conditions)
Chemical exposure (oils, fuels, coolants)
Mechanical wear (handling, assembly, operation)
With proper ink selection and curing, the JST-R400-CSM delivers prints that meet these demanding requirements. The ±0.1mm registration accuracy ensures that every part is marked consistently — critical for traceability in automotive manufacturing.
Finished metal engine part with sharp screen printed logo on JST-R400-CSM
Post-Print Preparation — Screen Cleaning and Storage
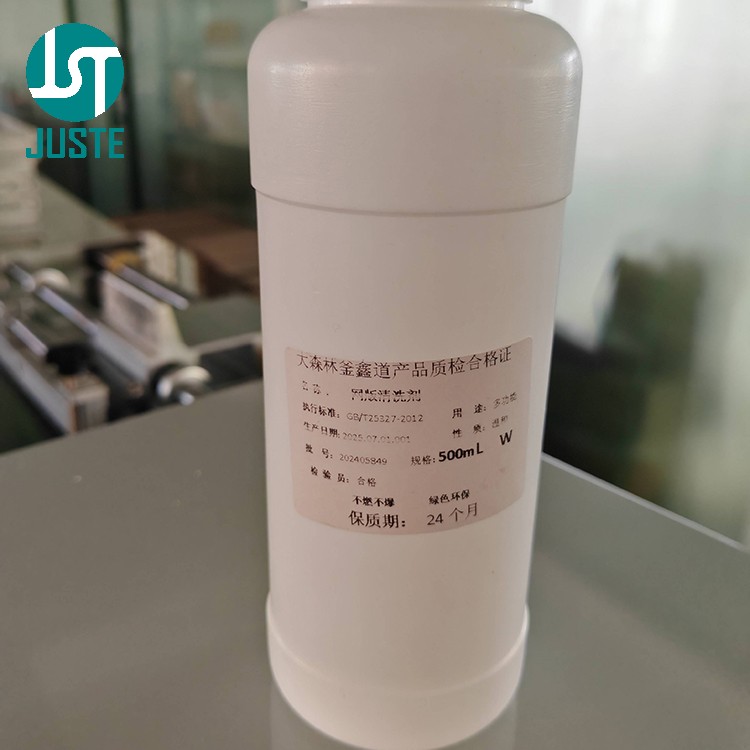
After printing is complete, proper screen maintenance is essential. Screen wash solvent must be used immediately after the screen is removed from the press to ensure quick, effective cleanup.
Cleaning procedure:
Remove the screen from the machine immediately after printing
Apply screen wash solvent to both sides of the mesh
Gently scrub to dissolve and remove residual ink
Rinse thoroughly
Allow the screen to dry completely
Store the screen properly for future use
Why this matters: If ink is allowed to dry in the mesh, it can permanently clog the screen, ruining it for future jobs. Prompt cleaning with the appropriate solvent extends screen life and ensures consistent print quality run after run. For solvent-based inks, specialized screen wash solvents are designed for efficient removal of ink residues.
Proper screen storage — in a clean, dry environment away from direct sunlight — preserves the stencil for reuse. This is especially important for custom screens with your logo or design, which represent a significant investment in time and materials.
Screen wash solvent for cleaning screen mesh after printing
Q: Are you a manufacturer or a trading company? A: We are a direct manufacturer with over 20 years of experience. Our 9,000+ sqm factory in Dongguan, China, houses 10+ CNC machining centers and a dedicated engineering team. We’re not traders — you get factory-direct pricing and full quality control.
Q: Can this cylindrical screen printing machine handle my specific product? A: Yes — if your product is round, cylindrical, or conical, including plastic cups, glass bottles, metal tubes, cosmetic jars, and even tapered sports bottles. The key is our custom fixture design, machined in-house to perfectly fit your product’s geometry. 👉 Send your product sample for a free print test
Q: Why is your price higher than some other suppliers? A: Because we don’t cut corners. We use genuine HIWIN guides, SMC valves, and AIRTAC cylinders — not generic parts. Our in-house CNC machining ensures fixture precision that generic “assemblers” can’t match. Based on our experience serving clients in over 120 countries, the slightly higher upfront cost delivers significantly lower downtime and maintenance costs over the machine’s lifespan. We also include 48-hour burn-in testing, a 1-year warranty, and lifetime technical support — things most “cheaper” suppliers don’t offer.
Q: Do your engineers speak English? Can we communicate without a translator? A: Absolutely. Our 15-year mechanical engineer and 20-year PLC engineer are both fluent in English. No translators, no delays. You can hop on a video call and discuss fixture design, PLC parameters, or troubleshooting directly with the people who built and programmed the machine. Our sales team is also fluent in English, ensuring seamless communication from the first inquiry to after-sales support.
Q: Is this machine difficult to set up and maintain? A: Not at all. The touch-screen PLC control makes operation intuitive, and our comprehensive video manuals guide you through every step. We also provide remote troubleshooting and firmware updates via our engineers — who, as mentioned, speak fluent English and can guide you live.
Q: Can I see the machine printing my product before I pay? A: Yes — and we encourage it. Our free live video demo lets you watch your actual product being printed in our factory, guided by our English-speaking engineer. You’ll see the fixture fit, the registration accuracy, and the final print quality — all before you commit a single dollar.
Q: Can I inspect my machine before it ships? A: Absolutely. Before shipment, we schedule a pre-shipment video inspection with you. Our engineer runs through every configuration detail, shows you the 48-hour test results, and lets you see the exact machine that will be delivered to your factory — so there are zero surprises.
Summary: The Complete Workflow
Step
Phase
Activity
1
Machine Overview
Raw part → Screen printer → Finished part
2
Pre-Print
Create custom screen with logo
3
Pre-Print
Adjust universal fixture (4 support feet, parallel to screen)
4
Pre-Print
Select ink (solvent or UV)
5
Printing
Machine prints cylindrical/conical products (engine parts, cups, bottles)
6
Post-Print
Inspect finished result — perfect print quality
7
Post-Print
Clean screen with wash solvent, store properly
Your Engine Parts, Same Process — See It Live
You’ve just seen the complete workflow for printing on cylindrical engine parts. Now imagine getting a private, real-time video walkthrough of your own components being printed, guided by our engineering team — all in fluent English.
It only takes 3 steps:
Send us your engine part sample and design file
We prepare the screen, fixture, and ink for your specific component
We go live on video — you see everything, ask technical questions, and approve the result before shipping
There is zero risk. If you’re not 100% convinced, you walk away with no obligation.