Contents
- 1 How to Use a Mesh Stretcher Machine
- 2 A. Preparation
- 3 B. Step-by-Step Process
- 4 Step 1: Secure the Frame
- 5 Step 2: Position the Mesh
- 6 Step 3: Initial Tensioning
- 7 Step 4: Uniform Stretching (Critical!)
- 8 Step 5: Adhesive Bonding
- 9 Step 6: Trimming & Final Check
- 10 When to Use Straight Stretching Mesh?
- 11 When to Use Angled Stretching Mesh?
- 12 Why Mesh Tension Dictates Print Quality
- 13 Industry-Specific Tension Standards
- 14 Mesh Count Compatibility Chart
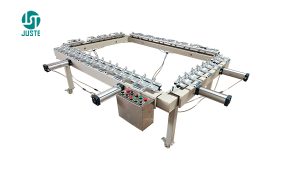
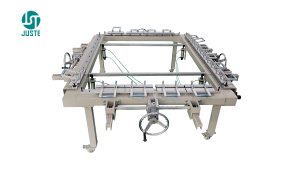
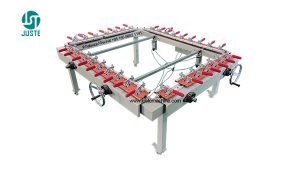
- 15 Recommended Screen Stretching Machine Equipment
- 16 You may also like
How to Use a Mesh Stretcher Machine
Step-by-Step Guide For screen printing, and industrial applications.
A. Preparation
A1.Tools & Materials:
○ Screen stretching machine (manual/pneumatic/hydraulic)

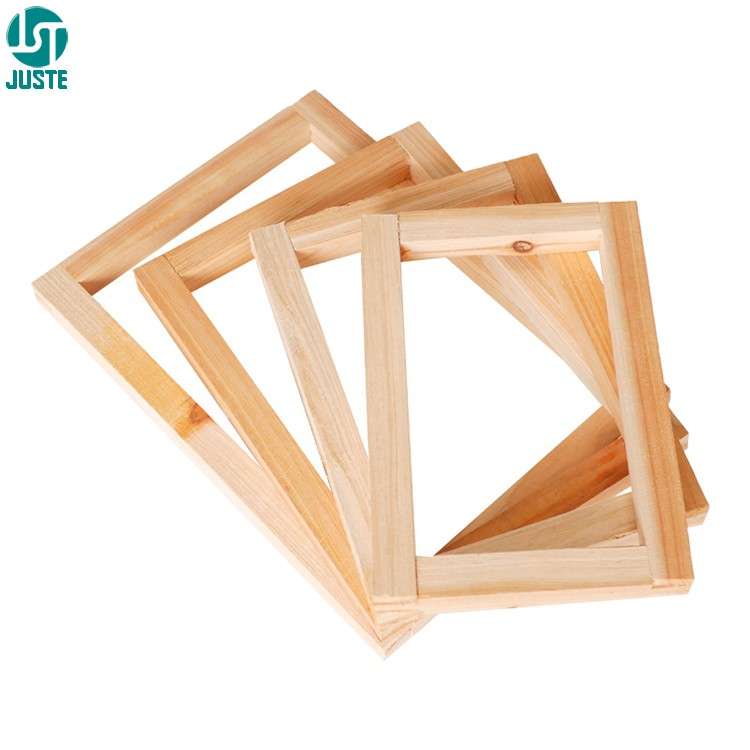
○ Screen frame (aluminum or wood, clean and burr-free)

○ Mesh (nylon or polyester, matching required mesh count)

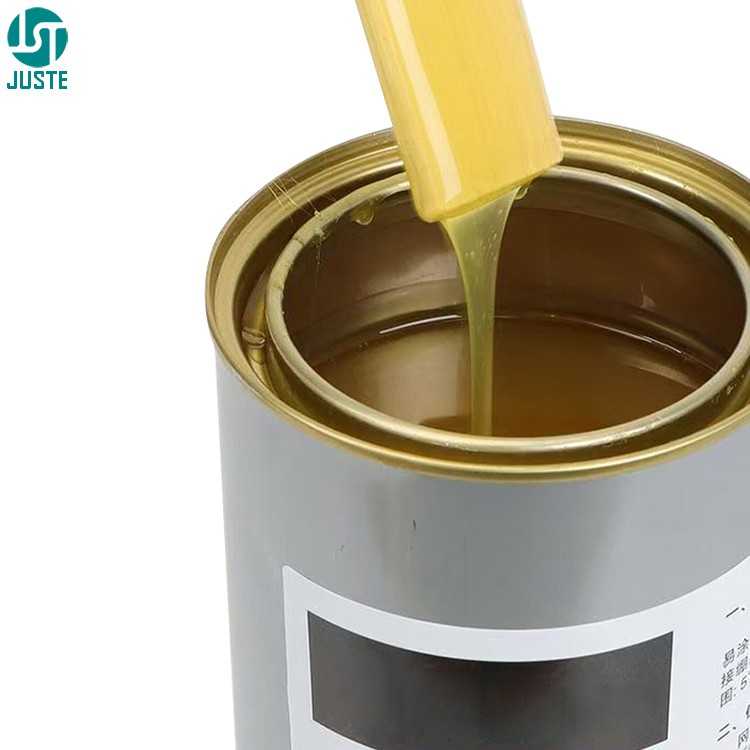
○ Adhesive (specialized frame glue or double-sided tape)
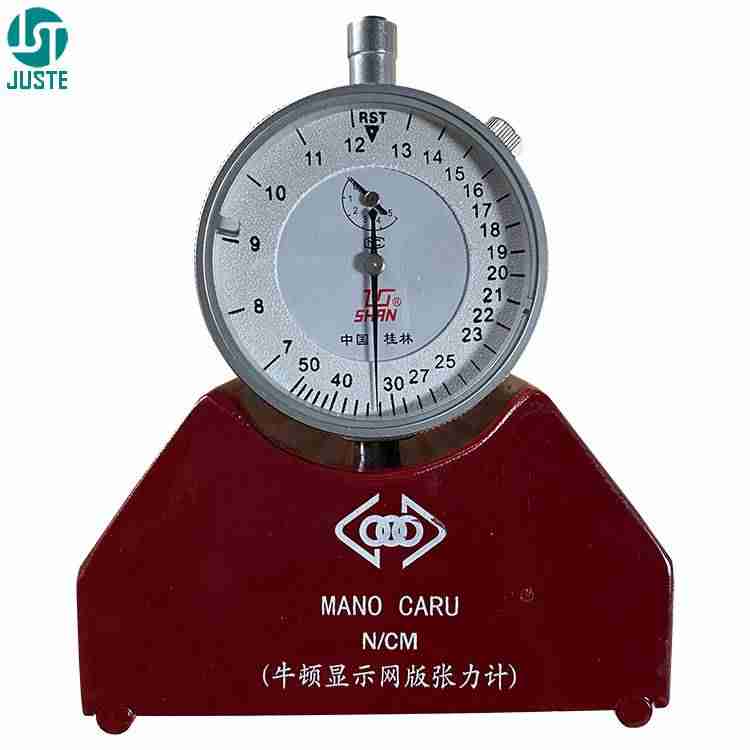
○ Tension meter (optional, for precision measurement)
○ Utility knife or scissors
A2. Workspace Requirements:
• Flat operating surface with stable temperature/humidity (20-25°C, 50-70% RH)
• Avoid strong airflow or vibrations.
B. Step-by-Step Process
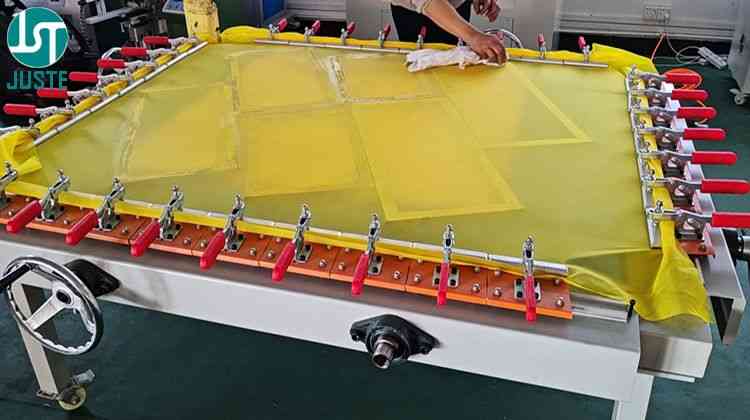
Step 1: Secure the Frame
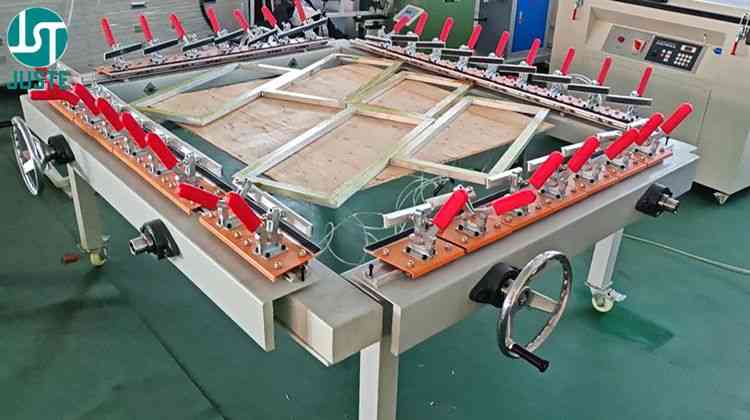
Place the frame on the stretching machine bed, aligning all edges with clamps.
Lock opposing sides first (e.g., top/bottom), then secure remaining sides to prevent distortion.
Step 2: Position the Mesh
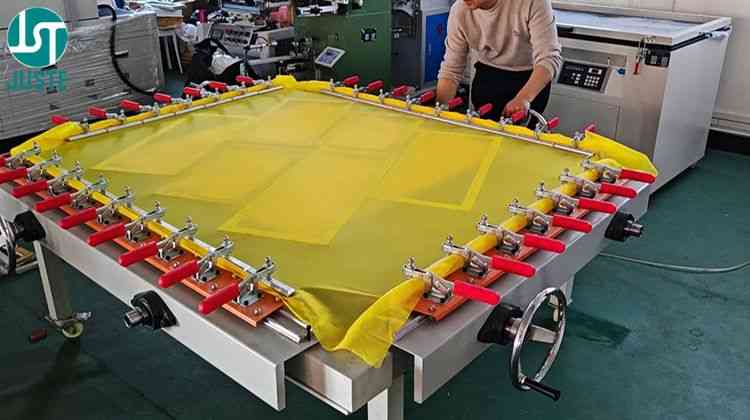
Lay the mesh over the frame, ensuring ≥5cm excess on all sides for clamping.
Align mesh warp/weft threads parallel to frame edges; eliminate wrinkles.

Step 3: Initial Tensioning
Activate the stretcher:
Pneumatic/hydraulic: Set pressure (3-5 bar, adjust per mesh count).
Manual: Turn handles evenly, increasing tension in 2-3 stages.
Start tensioning from the center outward to avoid localized overstretching.
Step 4: Uniform Stretching (Critical!)
Cross-Diagonal Stretching Method:
First stretch along the top-left → bottom-right axis, then top-right → bottom-left.
Pause 10 seconds between stretches for stress relaxation.
plaintext
↗→↘ ↖←↙
Stretching sequence diagram
Tension Verification:
Measure tension at 4 edges and center using a tension meter:
Nylon: 18-25 N/cm
Polyester: 20-30 N/cm
Allow ≤2 N/cm variation between points.
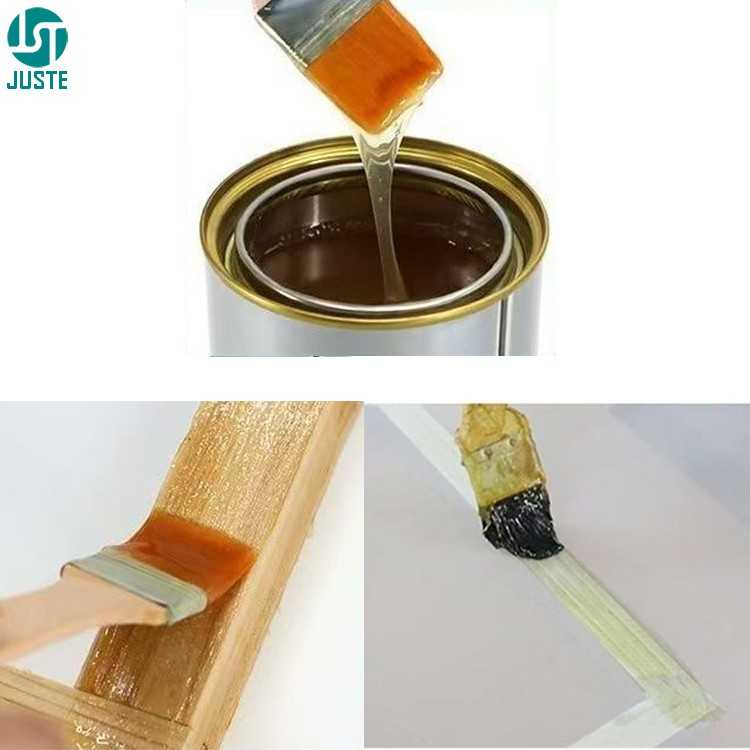
Step 5: Adhesive Bonding
Apply glue evenly to frame bonding surfaces (cyanoacrylate instant adhesive recommended).
Press mesh edges for 3-5 minutes or use clamps until cured.
Step 6: Trimming & Final Check
Trim excess mesh with a utility knife along the frame edge.
Recheck tension uniformity across the entire mesh.

Why is Stretching Mesh Important?
1. The tension on the mesh is critical for achieving high-quality prints. If the mesh is not stretched tightly, it can lead to blurry or inconsistent prints, as the mesh will move during the printing process.
2. Proper tension ensures sharp, precise prints and a durable screen for multiple uses.
3. This process of stretching the mesh ensures that it is properly aligned and tensioned for the best screen printing results.
Juste Machine Stretching Mesh Experience Sharing.
In screen printing, whether you stretch mesh straight (straight mesh) or angled (angled mesh) onto the frame depends on the specific printing requirements and the type of materials you’re working with. Here’s an explanation of when to use each method:
When to Use Straight Stretching Mesh?
Standard Printing:
For most general screen printing applications, such as printing on flat surfaces (e.g., paper, fabric, or cardboard), straight mesh is typically used. This ensures an even and consistent tension across the entire screen, which is essential for precise and sharp prints.
When Consistent Tension is Required:
Straightening the mesh ensures uniform tension across the screen, which is crucial for creating clear and consistent prints, especially when printing fine details or intricate designs.
For Fine Mesh Sizes:
When using finer mesh (for high-detail printing), a straight mesh ensures that the fine threads remain evenly stretched, preventing distortion or movement during printing.
How to Stretch:
Apply equal tension in all directions, pulling the mesh straight across the frame to eliminate any wrinkles or slack. The mesh should be uniformly taut and square on the frame.

When to Use Angled Stretching Mesh?
Printing on Curved or Irregular Surfaces:
Angled mesh is often used for printing on cylindrical, conical, or other uneven surfaces (like bottles, cups, or tubes).
The angled stretching helps maintain consistent ink pressure and ensures a smooth, even transfer of the design on a curved or irregular substrate.
For Specific Materials:
When working with materials or objects that are not flat (e.g., printing on the sides of containers like cosmetic bottles, mugs, or glasses), stretching the mesh at an angle helps the screen conform to the shape of the surface.
When Working with Large-Scale Prints: For larger or more complex prints, angled mesh can help achieve better control over ink flow and application across larger areas.
How to Stretch:
Apply tension to the mesh while pulling it at an angle, typically at a slight diagonal (around 15-30 degrees), rather than straight across. This is usually done when the screen is designed for printing on non-flat surfaces, helping the mesh conform better to the shape.
Why Mesh Tension Dictates Print Quality
Consequences of Uneven Tension
Misalignment in multi-color registration
Distorted halftone dots (blurred details)
Inconsistent emulsion coating (uneven UV exposure)
Industry-Specific Tension Standards
| Application | Target Tension (N/cm) | Tolerance |
| Apparel Printing | 18-22 | ±2 |
| Electronics Decals | 23-26 | ±1.5 |
| Ceramic Transfers | 20-24 | ±2 |
| 3D Texture Printing | 25-30 | ±1 |
Mesh Count Compatibility Chart
| Ink Type | Mesh Count | Tension Range (N/cm) |
| Water-Based (Textile) | 110-160 | 18-20 |
| UV-Curable | 200-350 | 22-25 |
| Metallic | 80-120 | 16-18 |
| Fluorescent | 150-200 | 20-22 |
Key Tips & Warnings
✅ Tension Control:
• Reduce stretching speed for high-mesh counts (>300) to prevent tearing.
• Avoid sudden pressure spikes with pneumatic systems.
✅ Frame Pre-Treatment:
• Coat wooden frames with waterproofing to prevent warping.
• Clean aluminum frames with isopropyl alcohol for better adhesion.
⚠️ Troubleshooting:
• Loose areas: Re-stretch locally and reapply adhesive.
• Glue overflow: Clean immediately with acetone to avoid mesh contamination.
Advanced Techniques
• Angled Stretching (22.5°/45°):
Reduces moiré patterns in halftone printing (requires angled clamps).
Dual-Mesh Layering:
• For ultra-fine details, stretch a low-mesh support layer first.
Recommended Screen Stretching Machine Equipment
| Type | Best For |
| Manual Mesh Stretcher | Small batches, multi-size |
| Mechanical Mesh Stretcher | Mid-volume stability |
| Helix spindle Stretcher | Medium size printing plant, stability is preferred |
| Pneumatic Mesh Stretcher | Medium size printing plant, stability is preferred |
| Automatic Mesh Tensioner | High-volume prod |