Contents
- 1 How to Effectively Stretch Mesh to a Screen Frame?
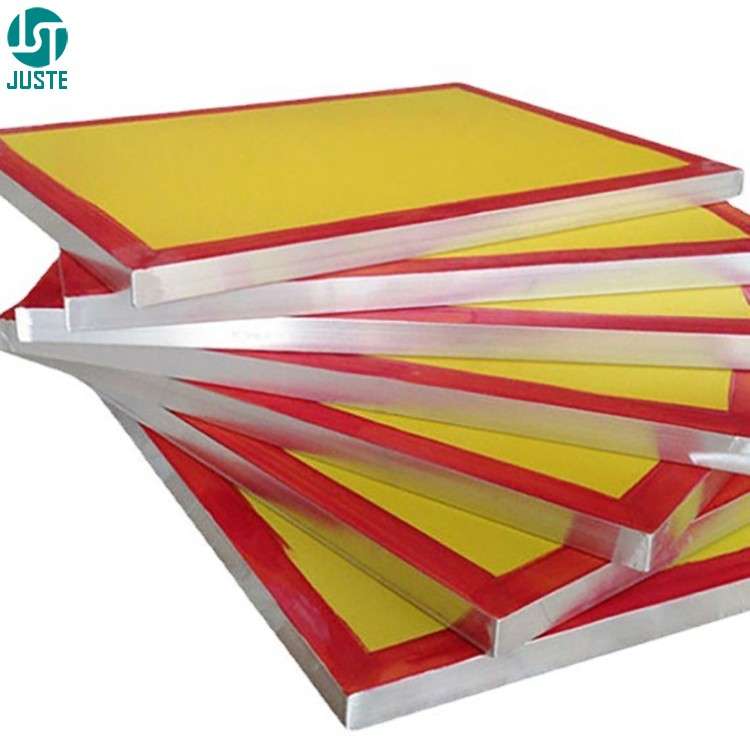
- 2 1. Prepare the Screen Frame
- 3 2. Cut the Mesh to Size
- 4 3. Apply Adhesive or Glue
- 5 4. Position the Mesh on the Frame
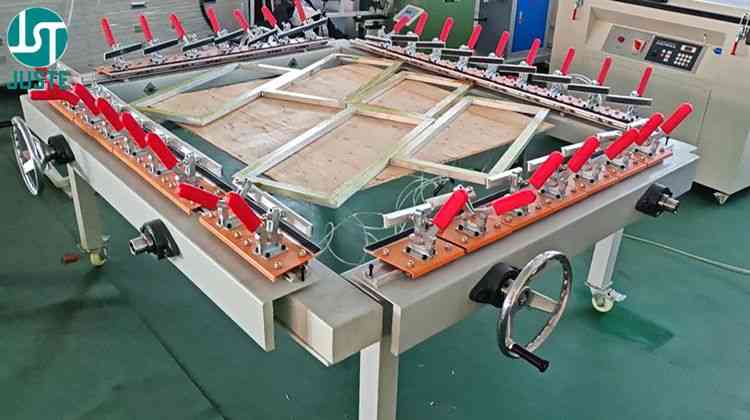
- 6 5. Stretch the Mesh
- 7 6. Secure the Mesh
- 8 7. Check the Tension
- 9 8. Trim Excess Mesh and Let the Frame Set
- 10 1. When to Use Straight Stretching Mesh?
- 11 2. When to Use Angled Stretching Mesh?
- 12 Why Mesh Tension Dictates Print Quality
- 13 Industry-Specific Tension Standards
- 14 Mesh Count Compatibility Chart
How to Effectively Stretch Mesh to a Screen Frame?
8 Simple Steps to Stretching Mesh to a Screen Frame Like a Professional expert.
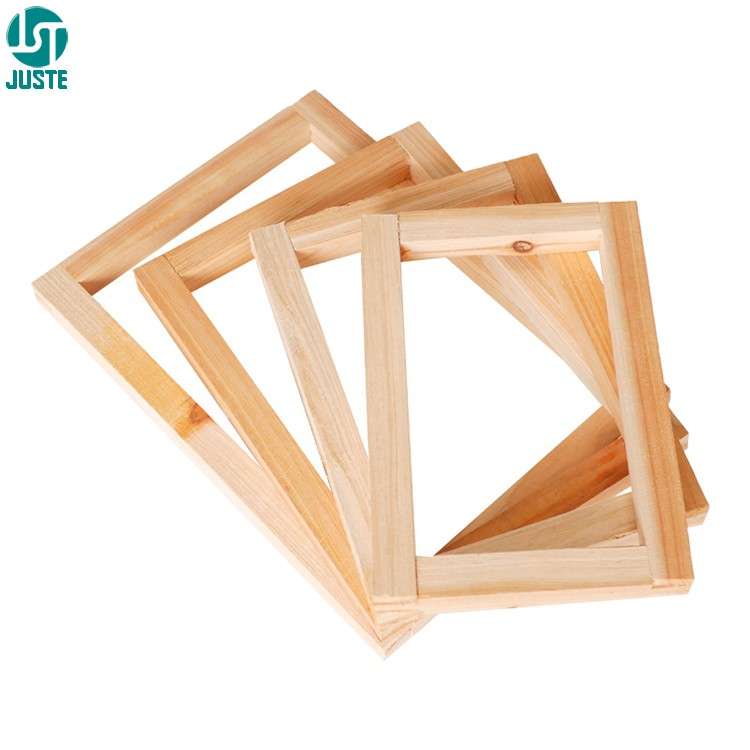
1. Prepare the Screen Frame
Begin by selecting a clean and sturdy frame, typically made of wood or aluminum. Ensure that the frame is in good condition and free from any dirt or debris that could interfere with the mesh application.

2. Cut the Mesh to Size
Cut the mesh (usually polyester or nylon) to a size slightly larger than the frame. It’s important to leave enough extra mesh around the edges to stretch it properly.


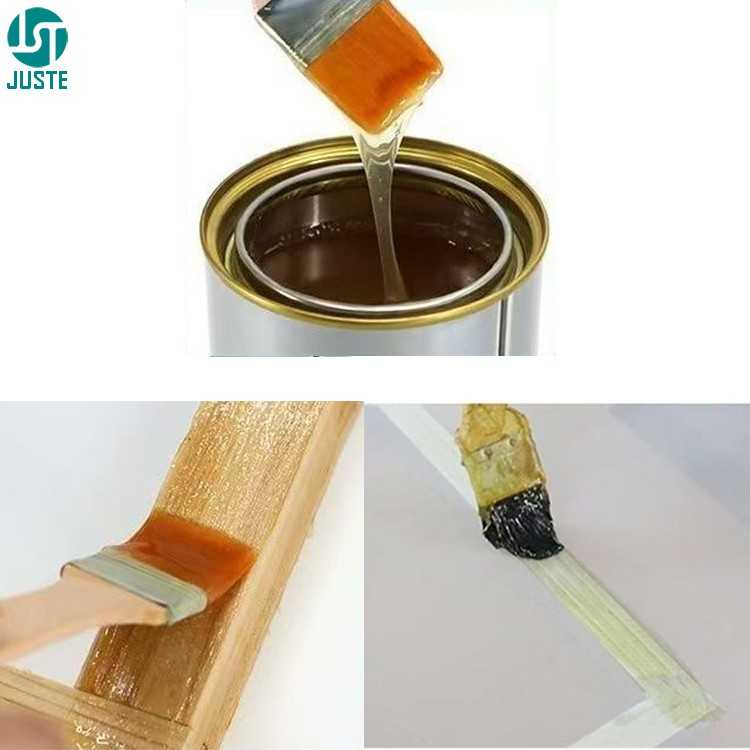
3. Apply Adhesive or Glue
Apply a layer of adhesive, glue, or a special mesh bonding compound around the perimeter of the frame. This adhesive will help hold the mesh in place once it is stretched.
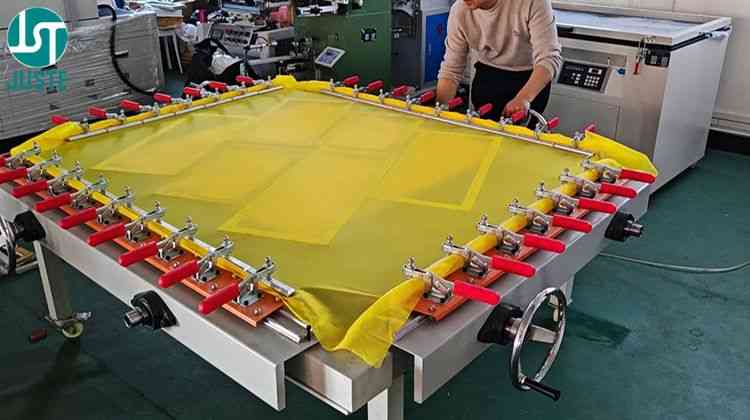
4. Position the Mesh on the Frame
Lay the mesh flat over the frame with stretching mesh machine, ensuring that it is centered and evenly distributed.
The mesh should have some extra material around the edges to allow for stretching.
5. Stretch the Mesh
Using stretching mesh machine, start pulling the mesh tightly across the frame. Begin at one corner and work your way around the frame, pulling the mesh evenly in all directions to remove any slack or wrinkles.
It is important to achieve consistent tension across the entire surface of the mesh.
6. Secure the Mesh
Once the mesh is stretched tightly and evenly, begin securing it to the frame. if wooden frame, use a staple gun to attach the mesh by stapling it around the edges at regular intervals.
If aluminum frame, use adhesive (such as a special screen printing glue or tape) to bond the mesh to the frame. Ensure that the mesh is securely attached, and the tension remains consistent across the screen.
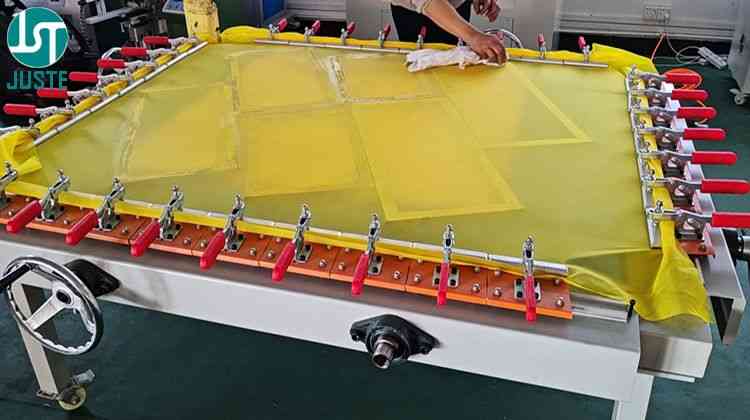
7. Check the Tension
After securing the mesh, check the tension by gently pressing down on different areas of the mesh. It should feel firm and consistent, with no loose spots or sagging.

8. Trim Excess Mesh and Let the Frame Set
After applying the adhesive (for aluminum frames) or securing the mesh (for wooden frames), allow the frame to sit for a short period to let the adhesive dry and bond properly.
Once the glue is dry, use a blade to trim off any excess mesh around the edges, leaving just enough to maintain the tension. After trimming, carefully remove the stretched screen from the frame, done stretching Mesh process.

Why is Stretching Mesh Important?
The tension on the mesh is critical for achieving high-quality prints. If the mesh is not stretched tightly, it can lead to blurry or inconsistent prints, as the mesh will move during the printing process.
Proper tension ensures sharp, precise prints and a durable screen for multiple uses.
This process of stretching the mesh ensures that it is properly aligned and tensioned for the best screen printing results.
Juste Machine Stretching Mesh Experience Sharing.
In screen printing, whether you stretch mesh straight (straight mesh) or angled (angled mesh) onto the frame depends on the specific printing requirements and the type of materials you’re working with. Here’s an explanation of when to use each method:
1. When to Use Straight Stretching Mesh?
Standard Printing:
For most general screen printing applications, such as printing on flat surfaces (e.g., paper, fabric, or cardboard), straight mesh is typically used. This ensures an even and consistent tension across the entire screen, which is essential for precise and sharp prints.
When Consistent Tension is Required:
Straightening the mesh ensures uniform tension across the screen, which is crucial for creating clear and consistent prints, especially when printing fine details or intricate designs.
For Fine Mesh Sizes:
When using finer mesh (for high-detail printing), a straight mesh ensures that the fine threads remain evenly stretched, preventing distortion or movement during printing.
How to Stretch:
Apply equal tension in all directions, pulling the mesh straight across the frame to eliminate any wrinkles or slack. The mesh should be uniformly taut and square on the frame.

2. When to Use Angled Stretching Mesh?
Printing on Curved or Irregular Surfaces:
Angled mesh is often used for printing on cylindrical, conical, or other uneven surfaces (like bottles, cups, or tubes).
The angled stretching helps maintain consistent ink pressure and ensures a smooth, even transfer of the design on a curved or irregular substrate.
For Specific Materials:
When working with materials or objects that are not flat (e.g., printing on the sides of containers like cosmetic bottles, mugs, or glasses), stretching the mesh at an angle helps the screen conform to the shape of the surface.
When Working with Large-Scale Prints: For larger or more complex prints, angled mesh can help achieve better control over ink flow and application across larger areas.
How to Stretch:
Apply tension to the mesh while pulling it at an angle, typically at a slight diagonal (around 15-30 degrees), rather than straight across. This is usually done when the screen is designed for printing on non-flat surfaces, helping the mesh conform better to the shape.
Key Differences in Application
Straight Mesh: Best for printing on flat surfaces, ensuring uniform tension across the screen. It’s the most common method used in general screen printing.
Angled Mesh: Best for printing on curved, cylindrical, or irregularly shaped items. It helps the screen mesh conform to the shape of the object being printed, ensuring consistent ink application.
Why Mesh Tension Dictates Print Quality
Consequences of Uneven Tension
Misalignment in multi-color registration
Distorted halftone dots (blurred details)
Inconsistent emulsion coating (uneven UV exposure)
Industry-Specific Tension Standards
| Application | Target Tension (N/cm) | Tolerance |
| Apparel Printing | 18-22 | ±2 |
| Electronics Decals | 23-26 | ±1.5 |
| Ceramic Transfers | 20-24 | ±2 |
| 3D Texture Printing | 25-30 | ±1 |
Mesh Count Compatibility Chart
| Ink Type | Mesh Count | Tension Range (N/cm) |
| Water-Based (Textile) | 110-160 | 18-20 |
| UV-Curable | 200-350 | 22-25 |
| Metallic | 80-120 | 16-18 |
| Fluorescent | 150-200 | 20-22 |
